Ohms (Ω) are a unit of electrical resistance—used to tell you how much a component resists the flow of electricity. Measuring ohms with a digital multimeter is an essential skill for diagnosing circuits, checking resistors, and troubleshooting electronics.
In this guide, we’ll show you how to read ohms like a pro using a digital multimeter.
📖 What Is an Ohm?
The ohm (Ω) measures resistance. One ohm means that one volt is needed to push one amp through a circuit.
Higher resistance = harder for electricity to flow.
🧪 When Do You Need to Measure Resistance?
-
Check if a resistor is working properly
-
Identify broken wires or poor connections
-
Test coils, fuses, switches, and heating elements
-
Verify PCB traces or circuit board components
🔧 What You’ll Need
-
A digital multimeter with resistance mode (Ω)
-
Test probes
-
The component or wire to test
-
Optional: color code chart for resistors
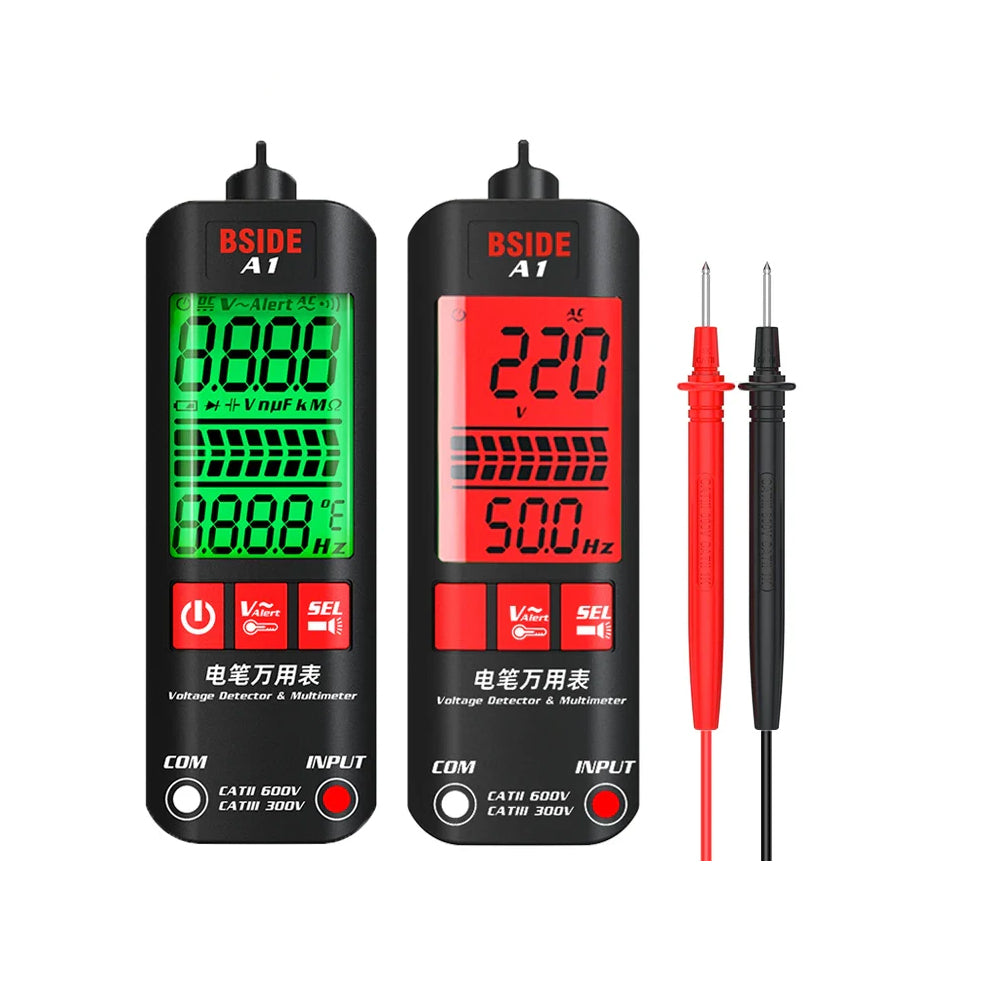
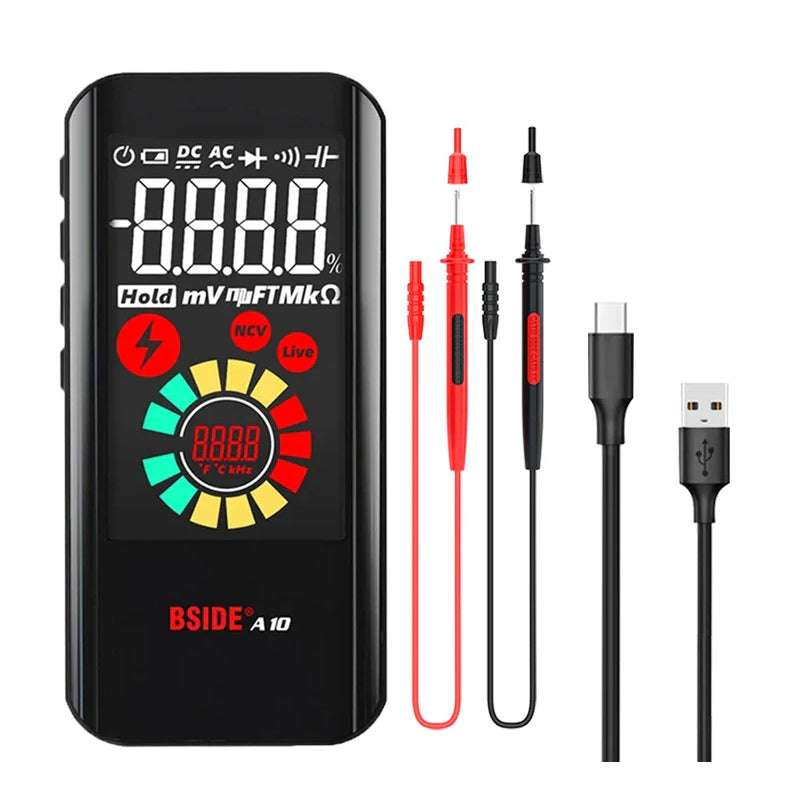
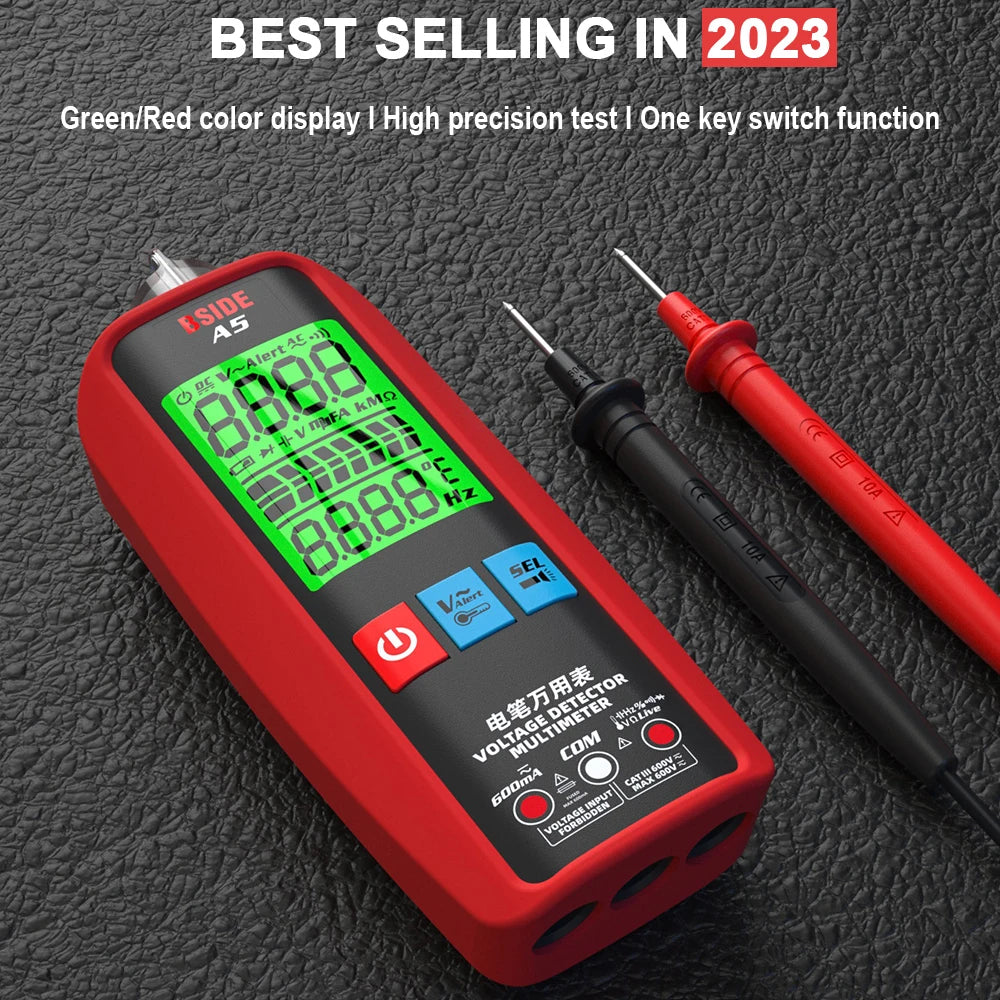
👉 Tip: BSIDE models like the S30, SH7, or S11 are perfect for resistance testing.
📏 How to Read Ohms in 5 Easy Steps
Step 1: Turn Off the Power
Never measure resistance in a live circuit—this can damage your meter and produce incorrect readings.
Step 2: Set the Multimeter to Resistance (Ω)
Turn the dial to the Ω symbol.
If you're using a manual-ranging multimeter, choose the expected range:
-
200Ω / 2k / 20k / 200k / 2M / etc.
Auto-ranging meters will do this for you.
Step 3: Zero the Meter (Optional)
Touch the two probes together.
You should get a reading close to 0.0Ω, indicating proper connection.
This ensures your meter isn’t reading internal resistance from the leads.
Step 4: Connect Probes to the Component
Touch one probe to each end of the component (resistor, wire, etc.).
What you may see:
| Display | Meaning |
|---|---|
| 0.0Ω to 999Ω | Low resistance (good conductor) |
| 1kΩ to 999kΩ | Moderate resistance (e.g., resistor) |
| 1MΩ+ | High resistance (insulating or faulty) |
| “OL” or “1” | Open circuit (no continuity) |
Step 5: Interpret the Result
-
Compare your reading to the expected value (e.g., from a resistor color code or circuit diagram).
-
Read the unit carefully:
-
1.0 = 1 ohm
-
1k = 1000 ohms
-
1M = 1,000,000 ohms
-
💡 Real-World Example
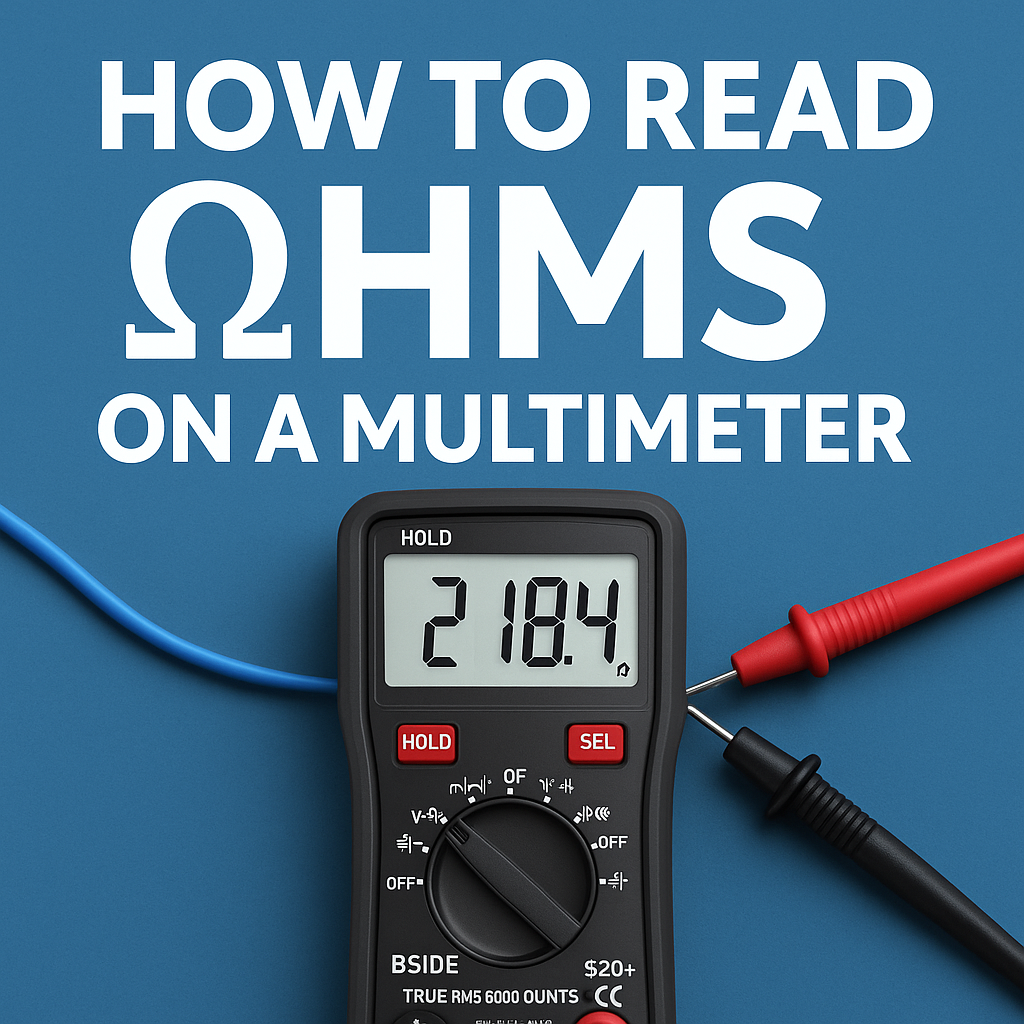
Let’s say you’re testing a 220Ω resistor:
-
Your multimeter shows 218.4Ω
-
✅ That’s within the ±5% tolerance range (expected for carbon film resistors)
But if it showed OL, that means the resistor is likely burnt or open-circuit.
⚠️ Common Mistakes to Avoid
-
Testing while powered on
-
Misreading the unit (Ω vs kΩ vs MΩ)
-
Touching the metal probe tips with your fingers (adds body resistance)
-
Expecting 100% accuracy—most resistors have ±5% or ±1% tolerance
🔧 Why Use a BSIDE Multimeter?
BSIDE multimeters are designed with:
✅ Auto-ranging and manual Ω modes
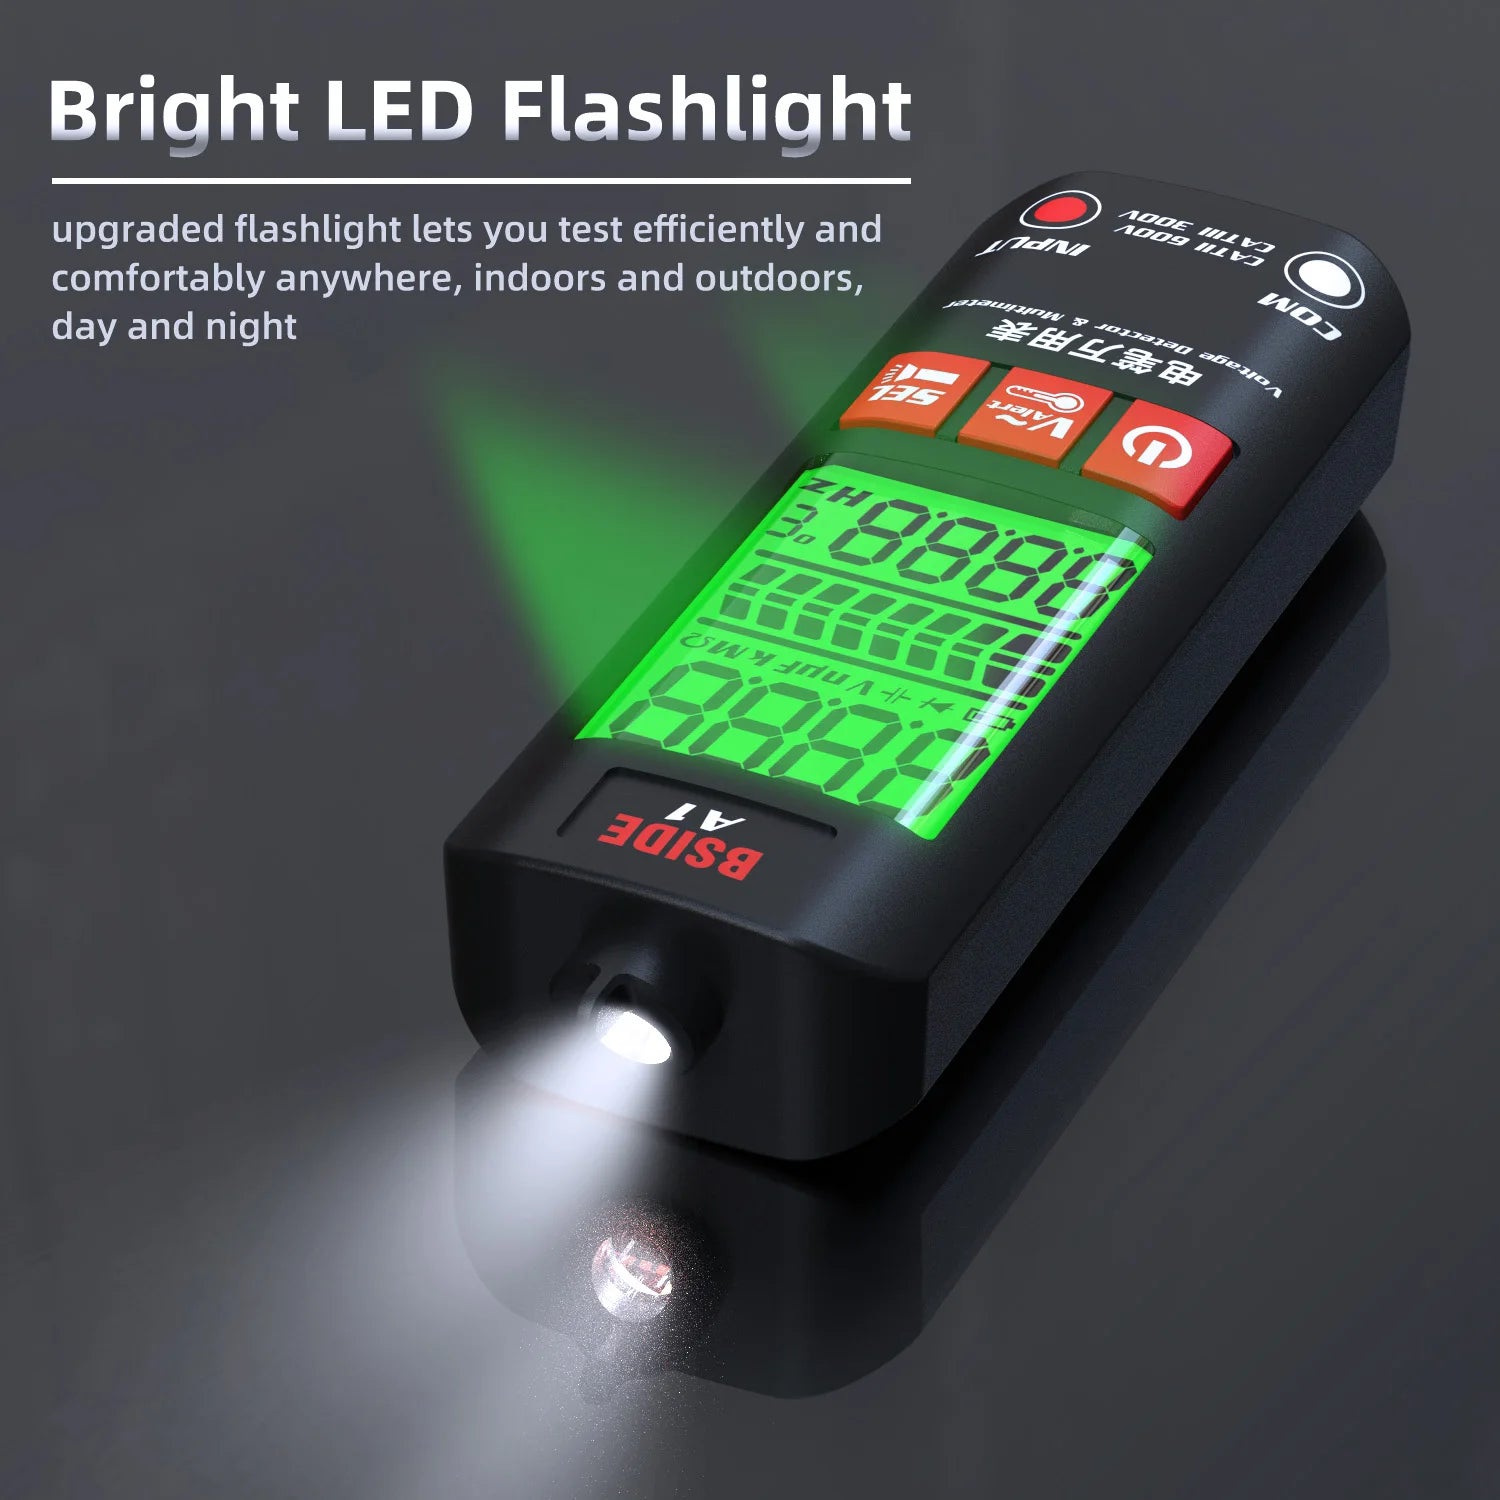
✅ Backlit screen for readability
✅ Fast response and stable resistance detection
✅ Audible continuity + resistance testing in one mode
Perfect for electronics hobbyists, HVAC technicians, and repair professionals.
✅ Conclusion
Reading ohms with a multimeter is simple once you understand the symbol, steps, and expected values.
With just a few tests, you’ll be able to troubleshoot circuits, confirm resistor values, and verify components like a pro.