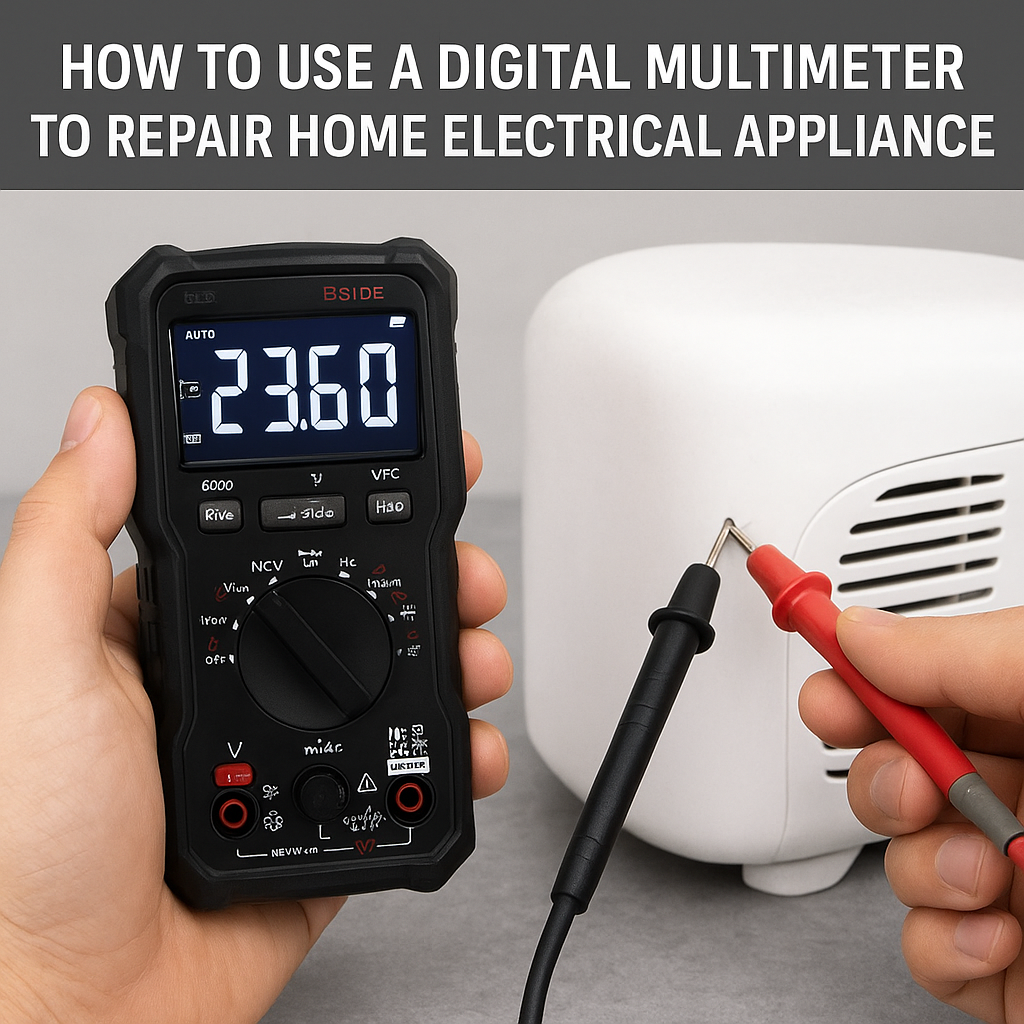
When your home electrical appliances suddenly stop working — whether it’s a fan that won’t spin, a toaster that won’t heat, or a charger that’s not powering your phone — the cause is often a simple electrical fault. A digital multimeter is one of the most essential tools for diagnosing and repairing these issues safely and accurately.
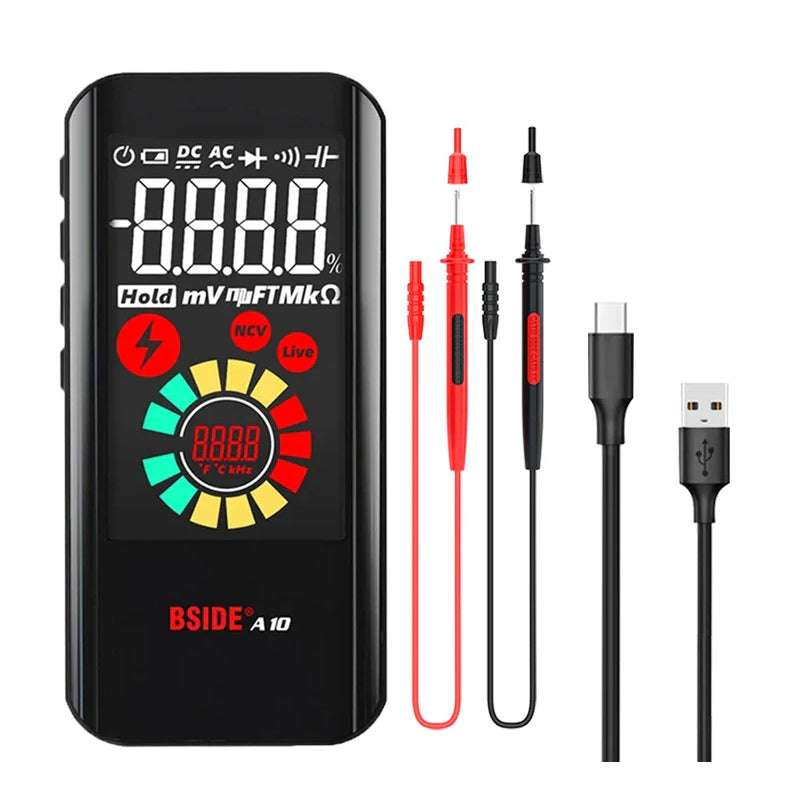
Modern multimeters, like the BSIDE S7 or BSIDE S10, combine advanced measurement technology with intuitive design, making them ideal for both professionals and DIY users. Here’s how to use one effectively for appliance repair.
1. Safety First
Before testing any appliance:
-
Unplug it from the wall socket.
-
Discharge capacitors if the device contains them (such as in microwaves or power supplies).
-
Use insulated tools and wear protective gloves when necessary.
Always make sure your multimeter leads are in good condition and properly inserted into the correct jacks.
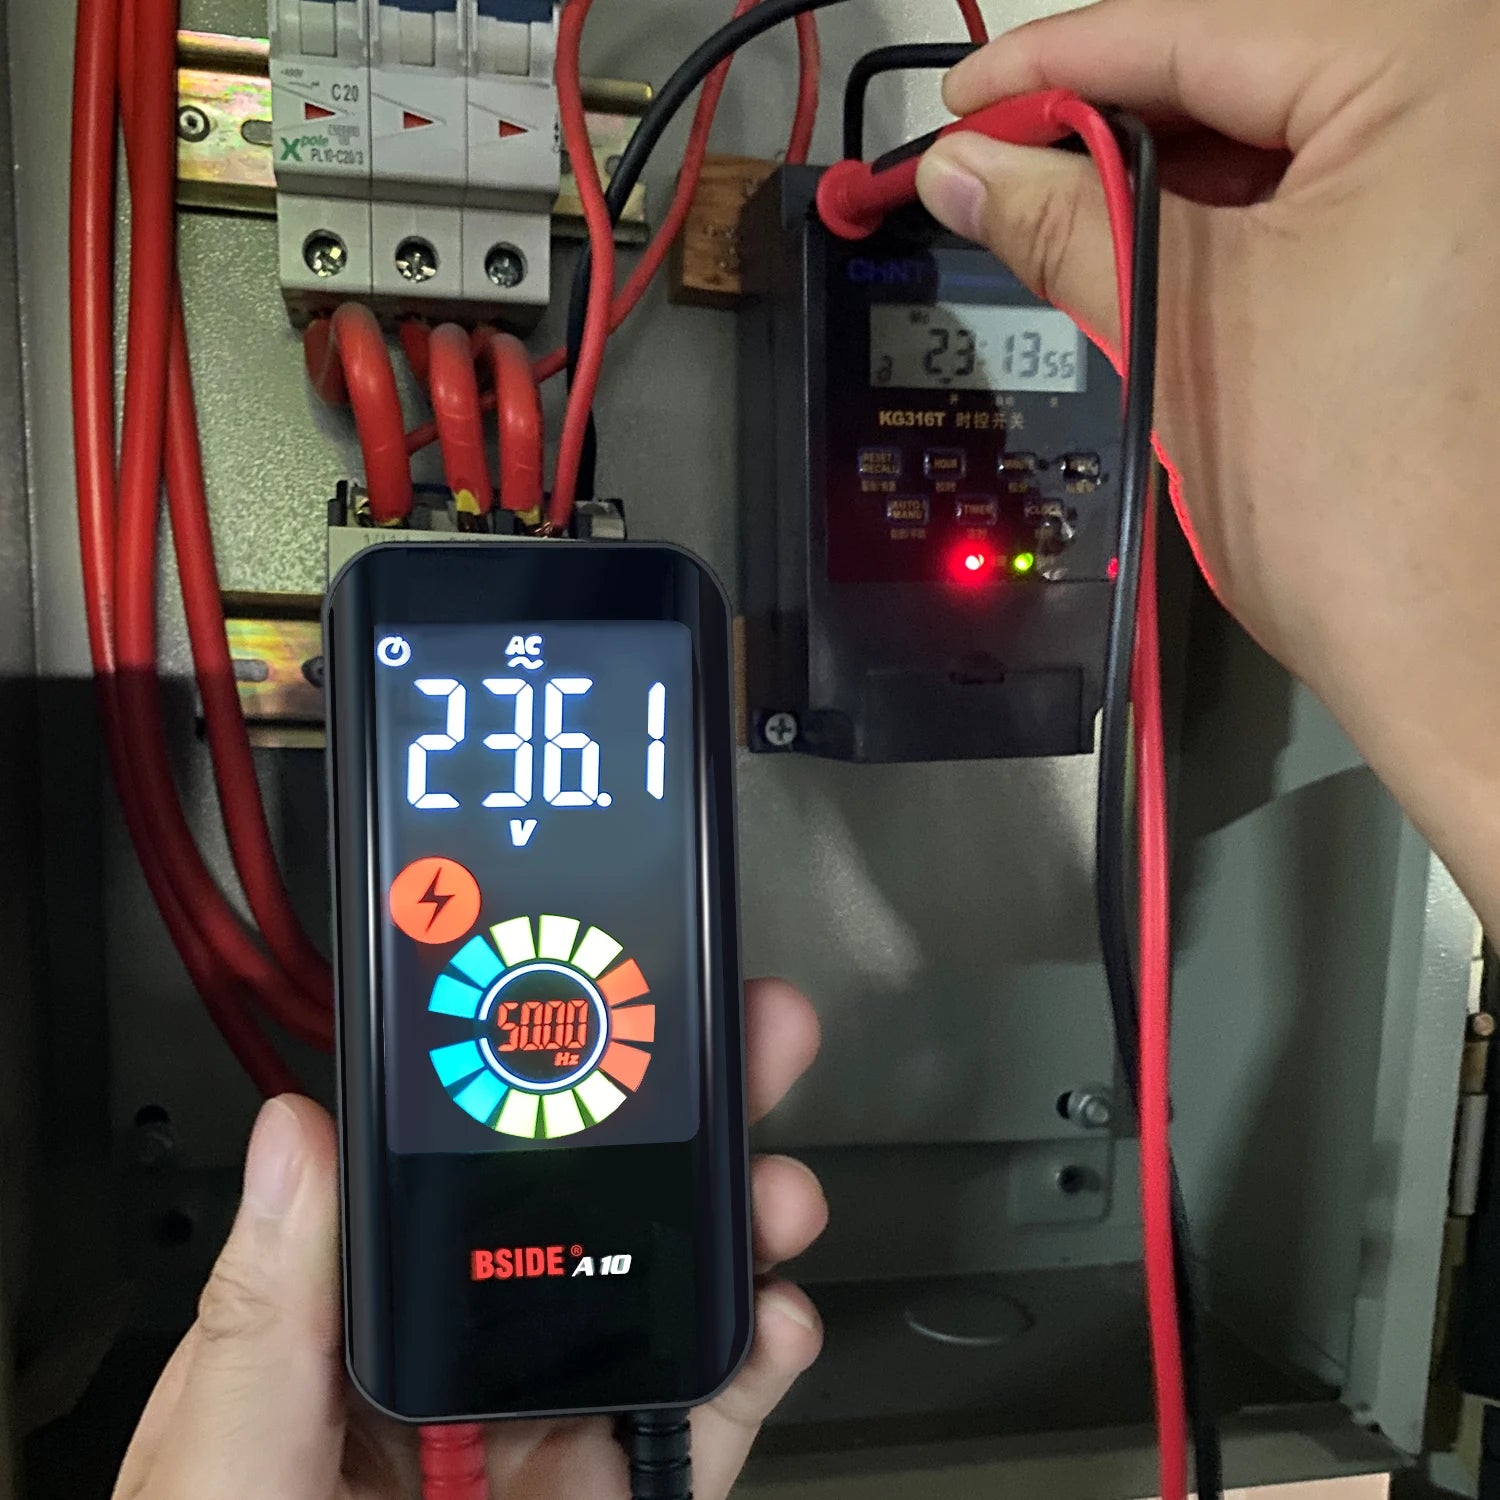
2. Check for Power Supply Issues
The first step is to verify if power is reaching your appliance.
-
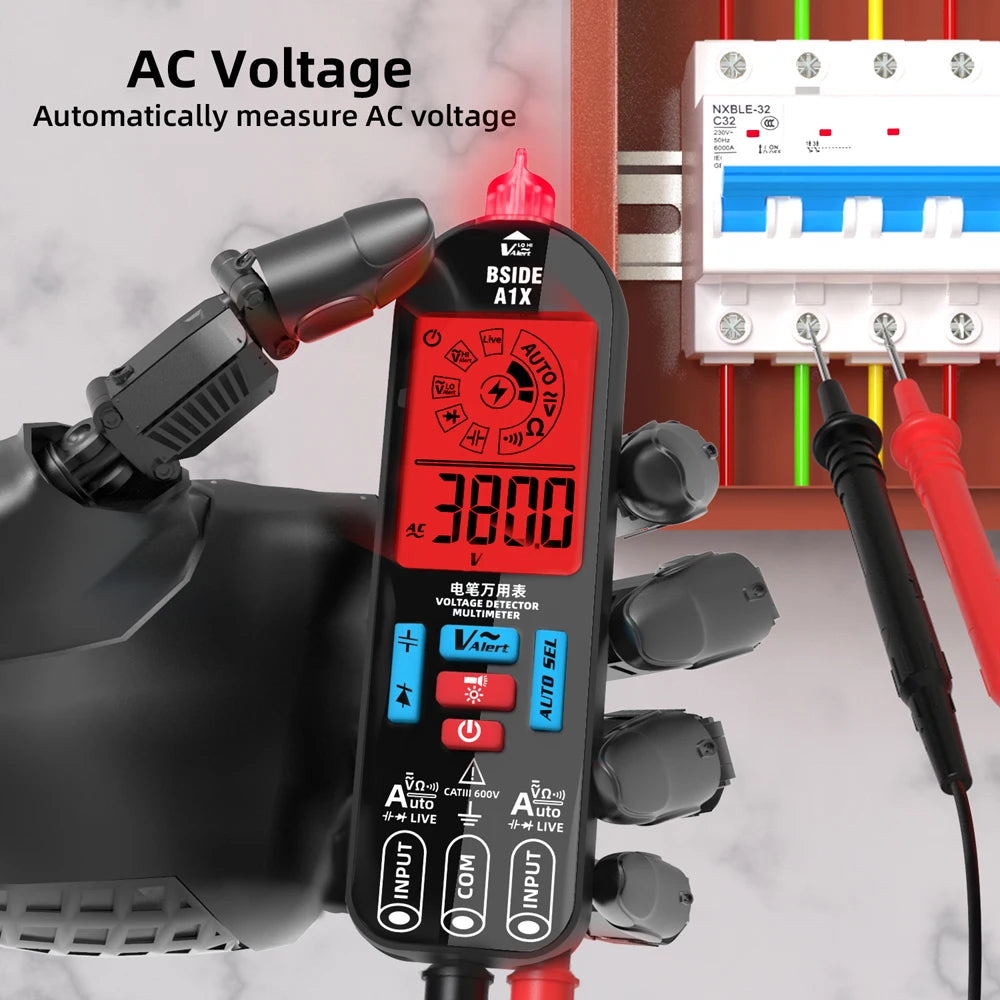
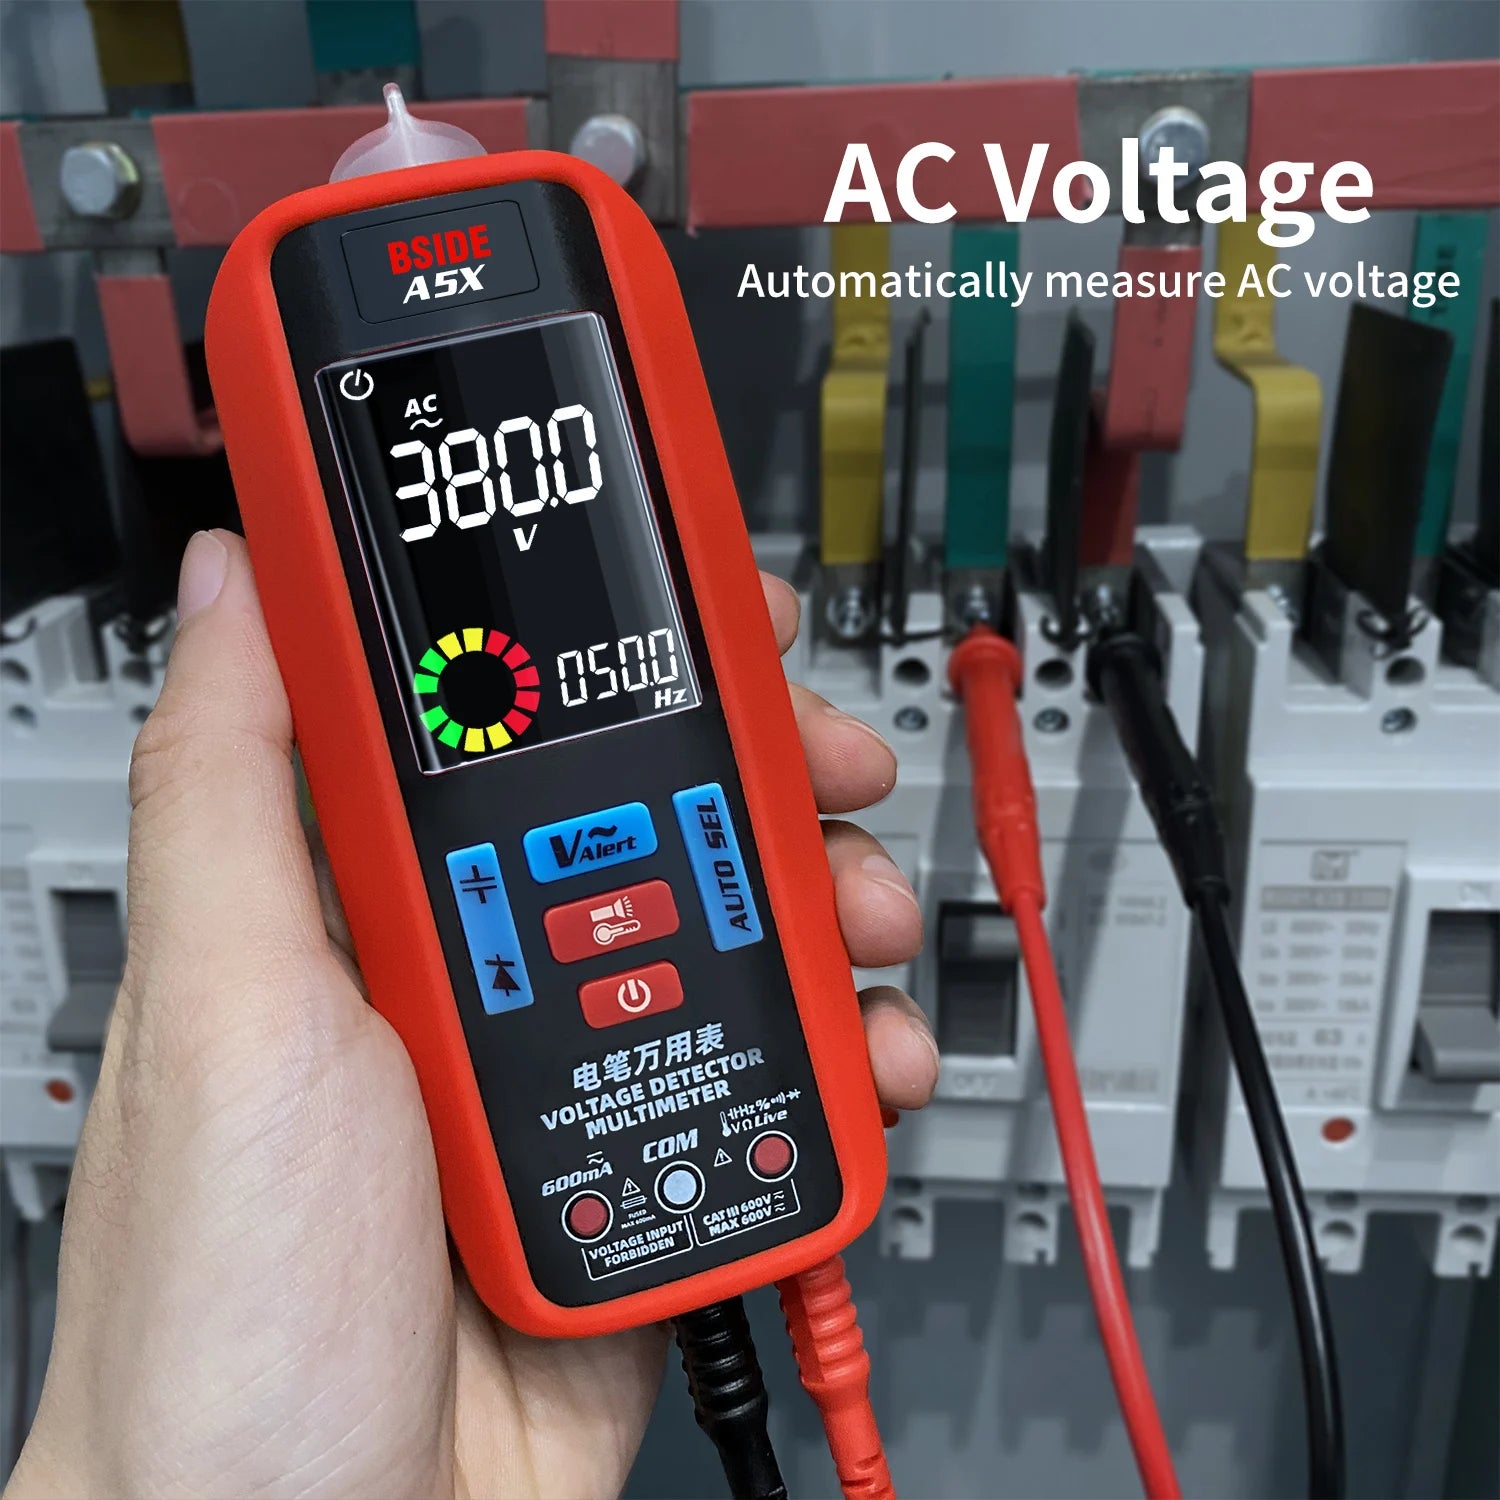
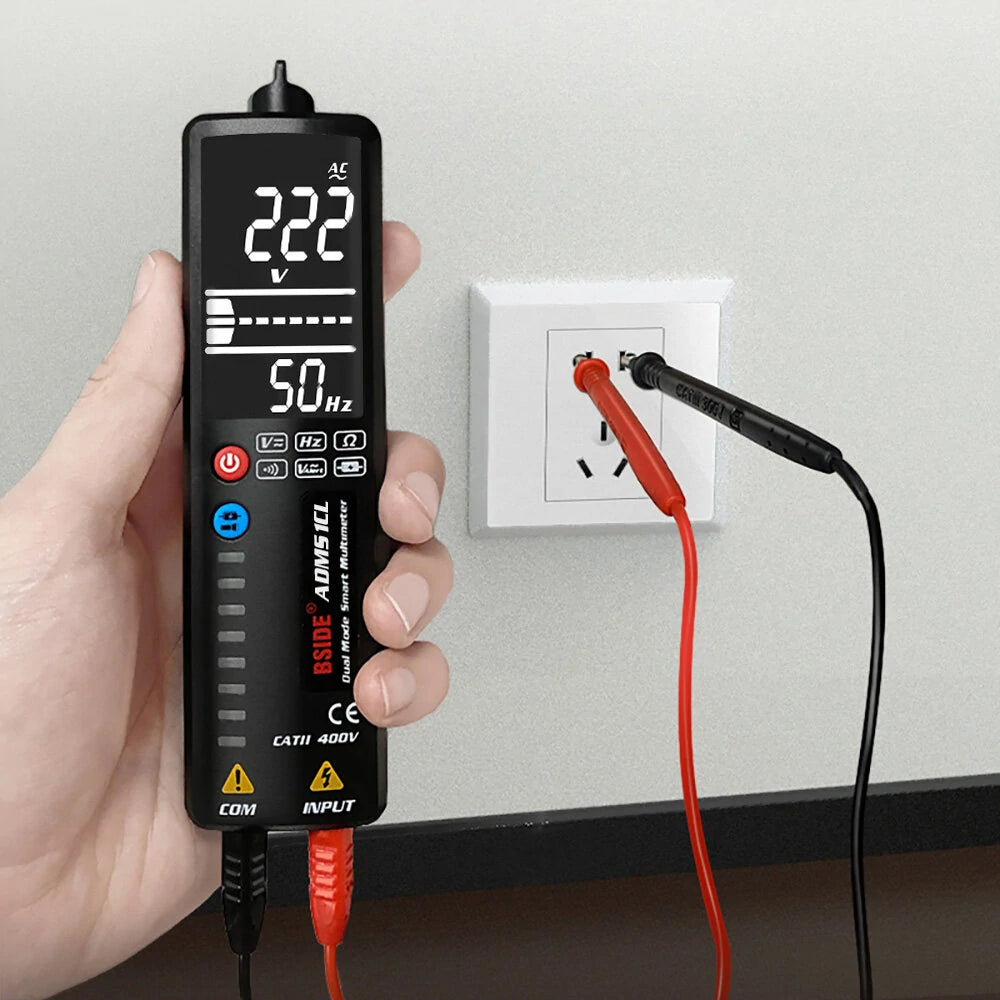
Set the multimeter to AC Voltage (V~) mode.
-
Measure the wall socket output — it should read approximately 110V or 220V depending on your country.
-
Next, test the appliance’s power cord for continuity (set to Ω or continuity mode).
If the multimeter beeps, the wire is fine; if not, the cable may be broken internally.
3. Inspect Internal Components
If the power cord is fine, open the appliance (only if you are confident doing so). Use your BSIDE multimeter to test internal components:
-
Fuses: Test for continuity. A blown fuse will show infinite resistance.
-
Switches: Check if the switch closes the circuit properly.
-
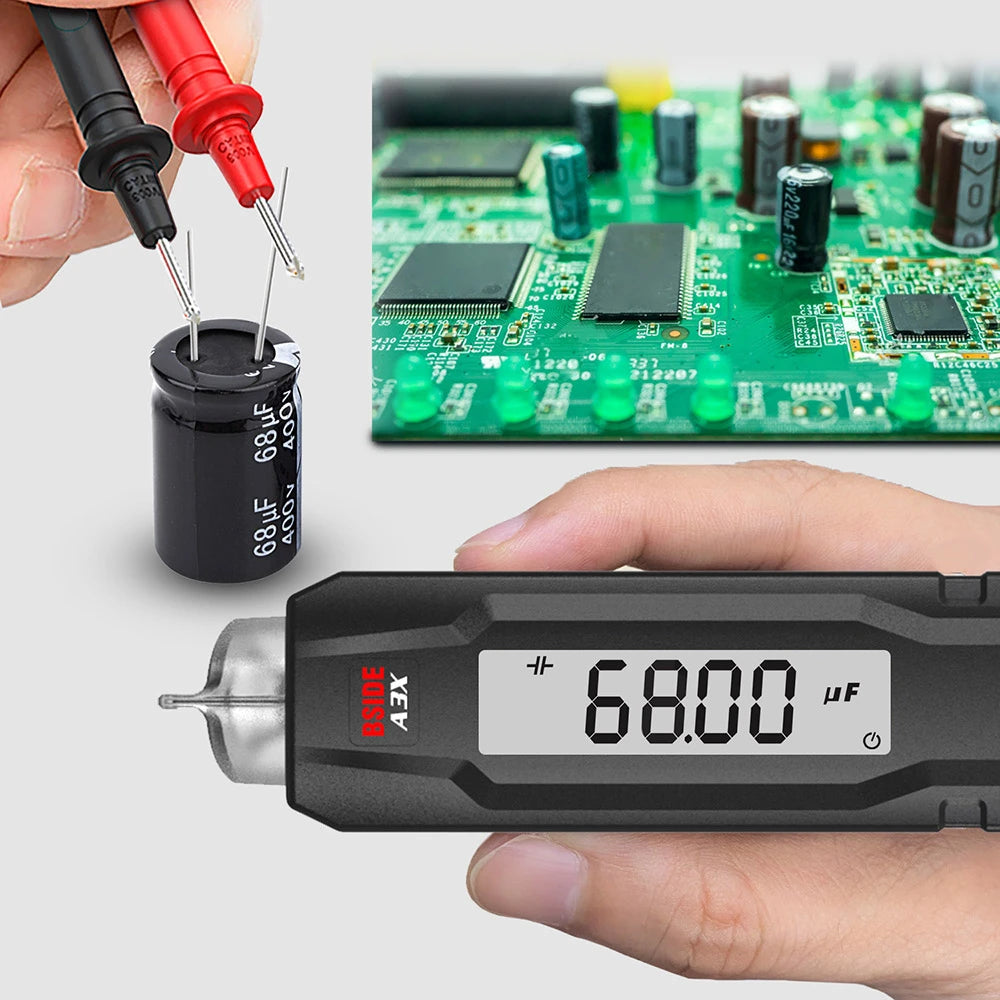
Heating elements or motors: Measure their resistance. An open circuit means a broken wire coil.
For more complex readings, models like BSIDE S30 or ZT-M1 with True RMS and frequency detection help identify inconsistent signals or voltage drops caused by faulty components.
4. Check for Short Circuits
If your appliance trips the breaker or smells burnt, check for short circuits.
-
Switch the multimeter to resistance mode (Ω).
-
Measure between live and neutral points — very low resistance indicates a short.
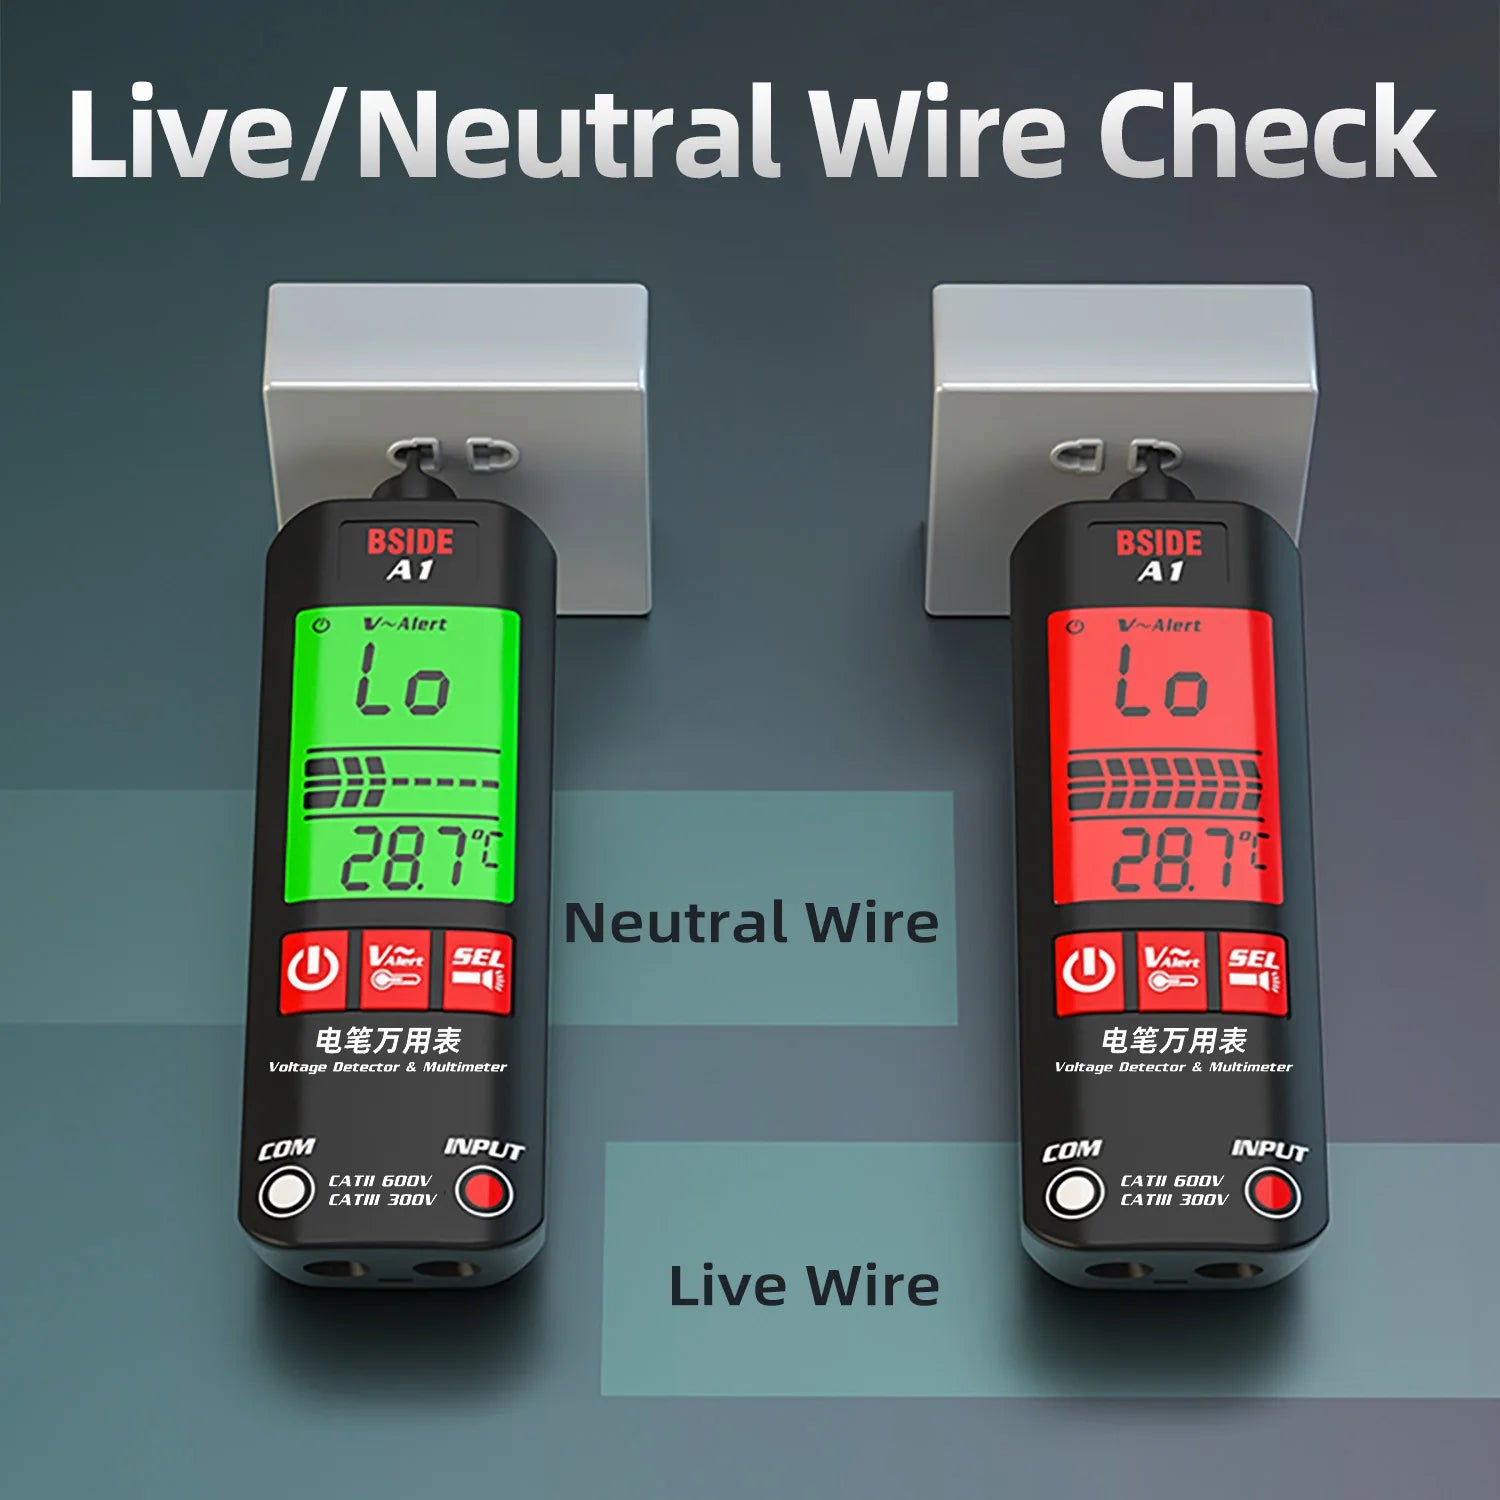
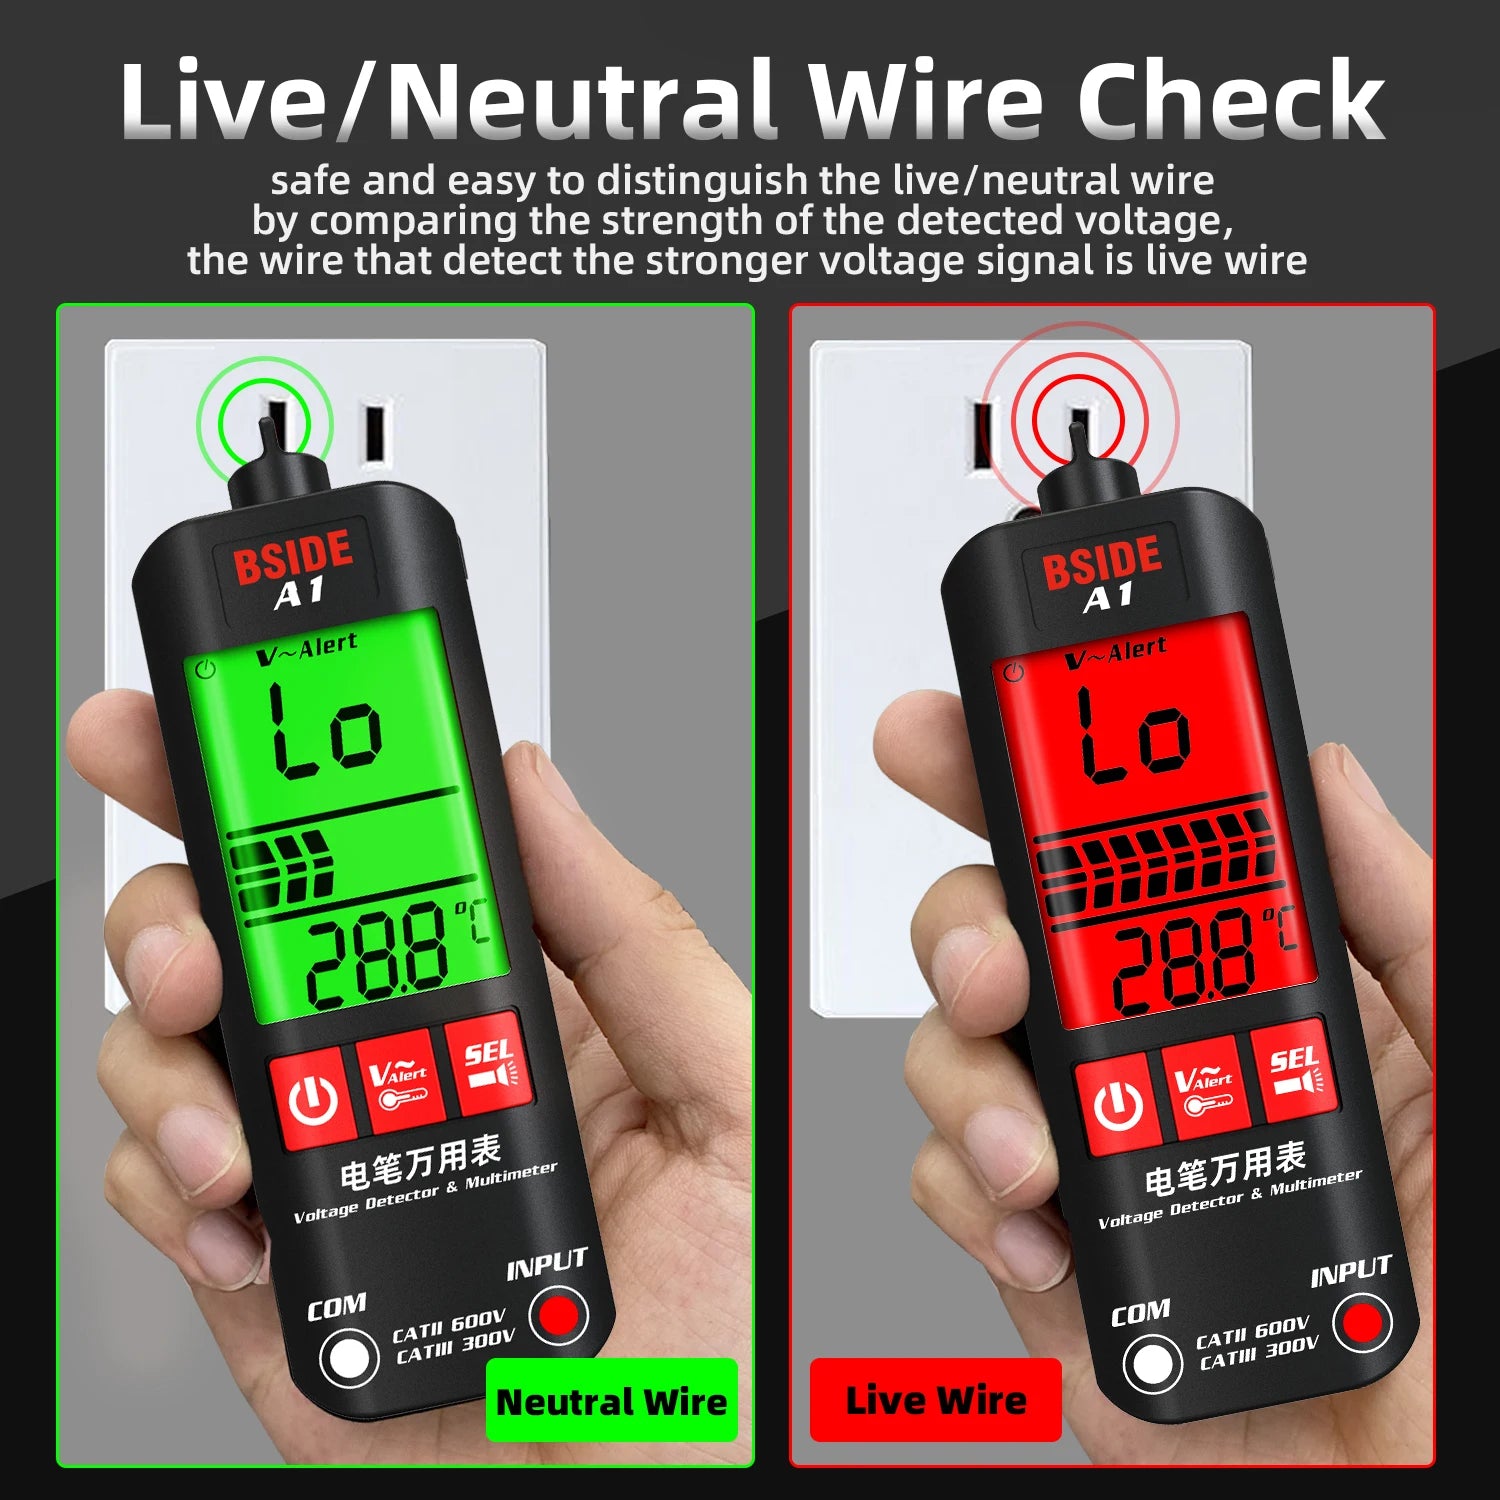
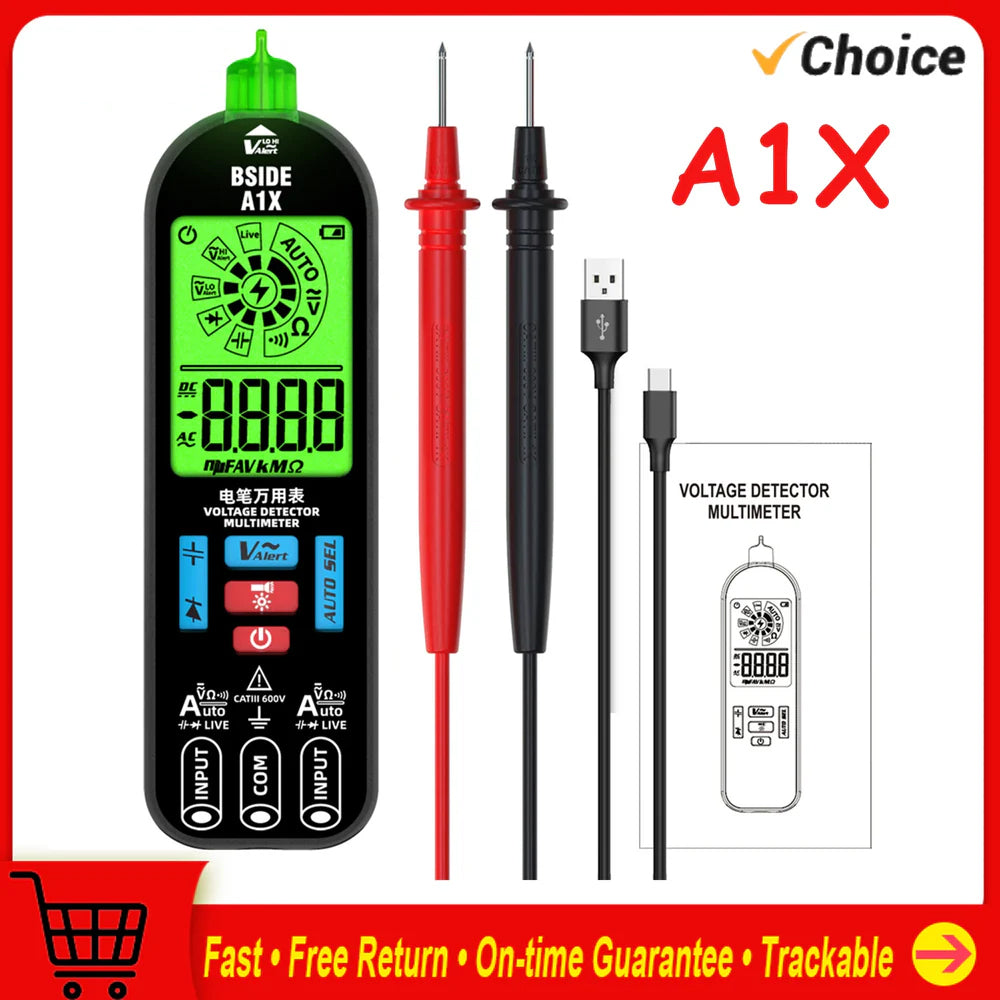
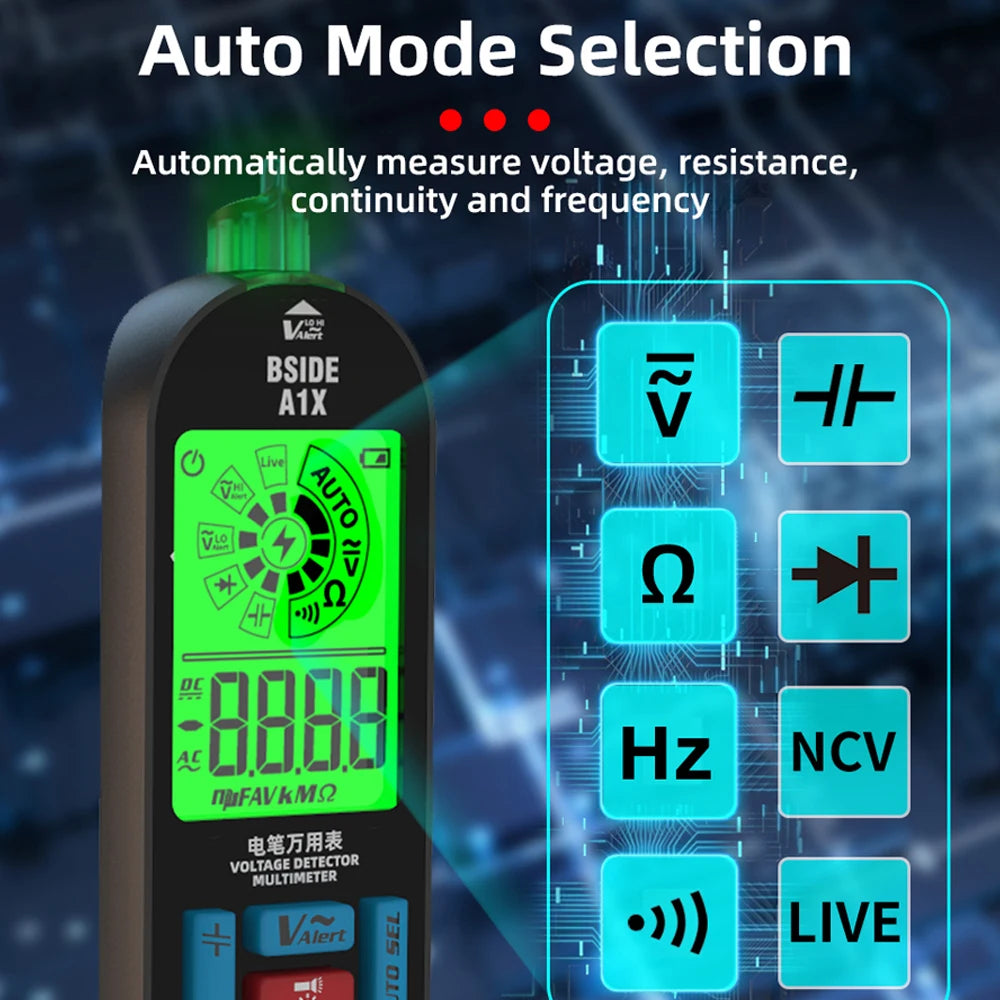
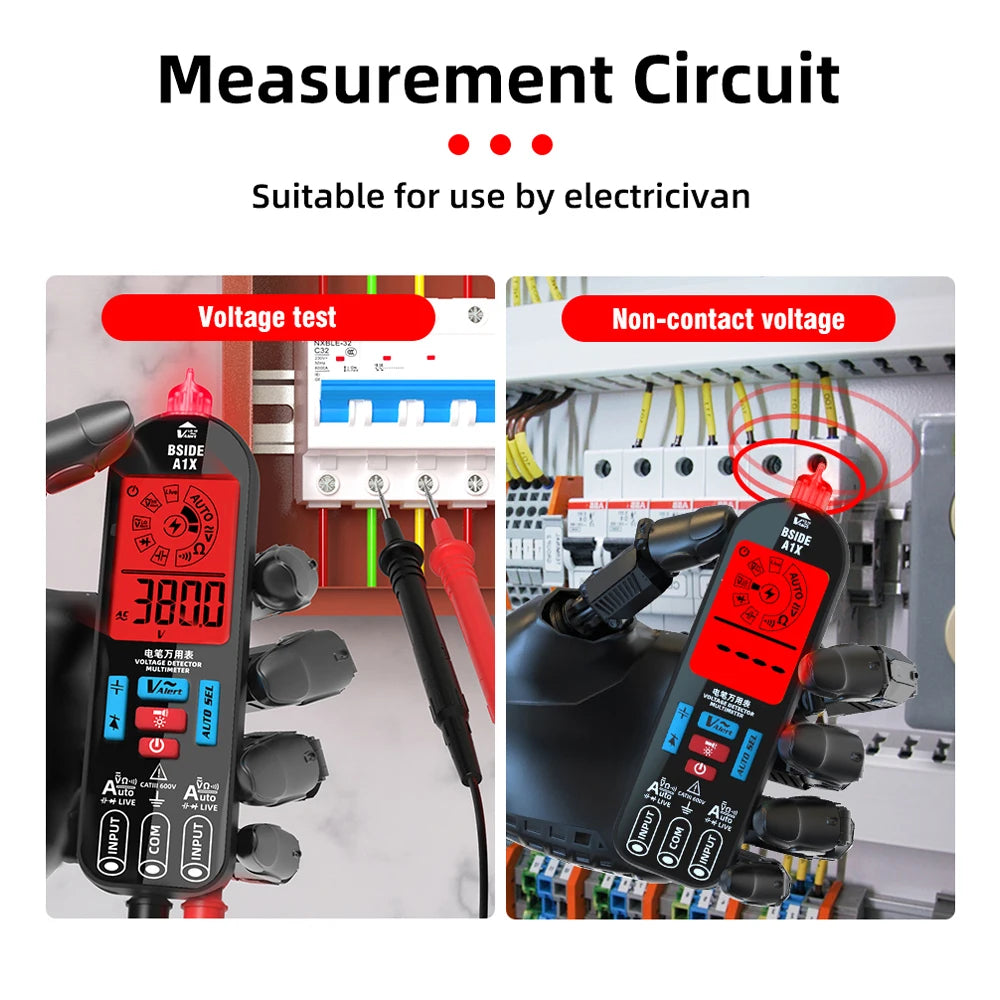
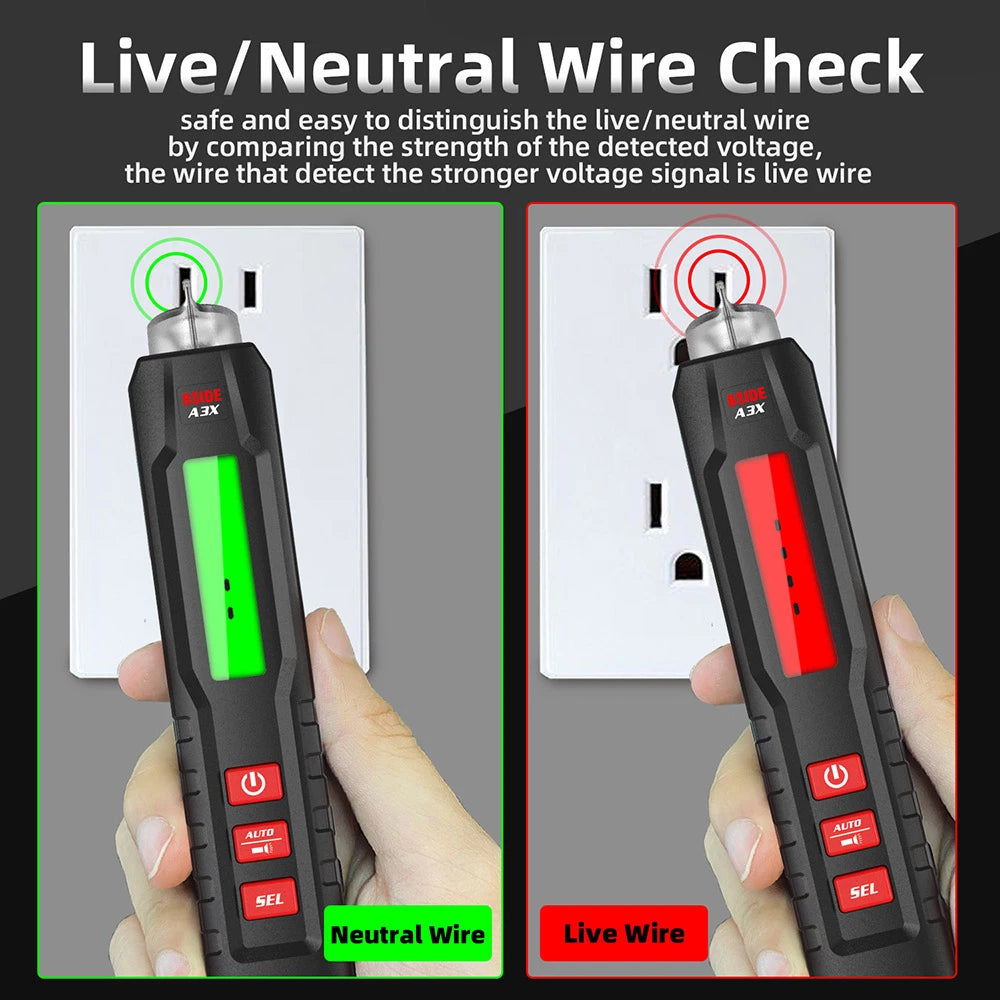
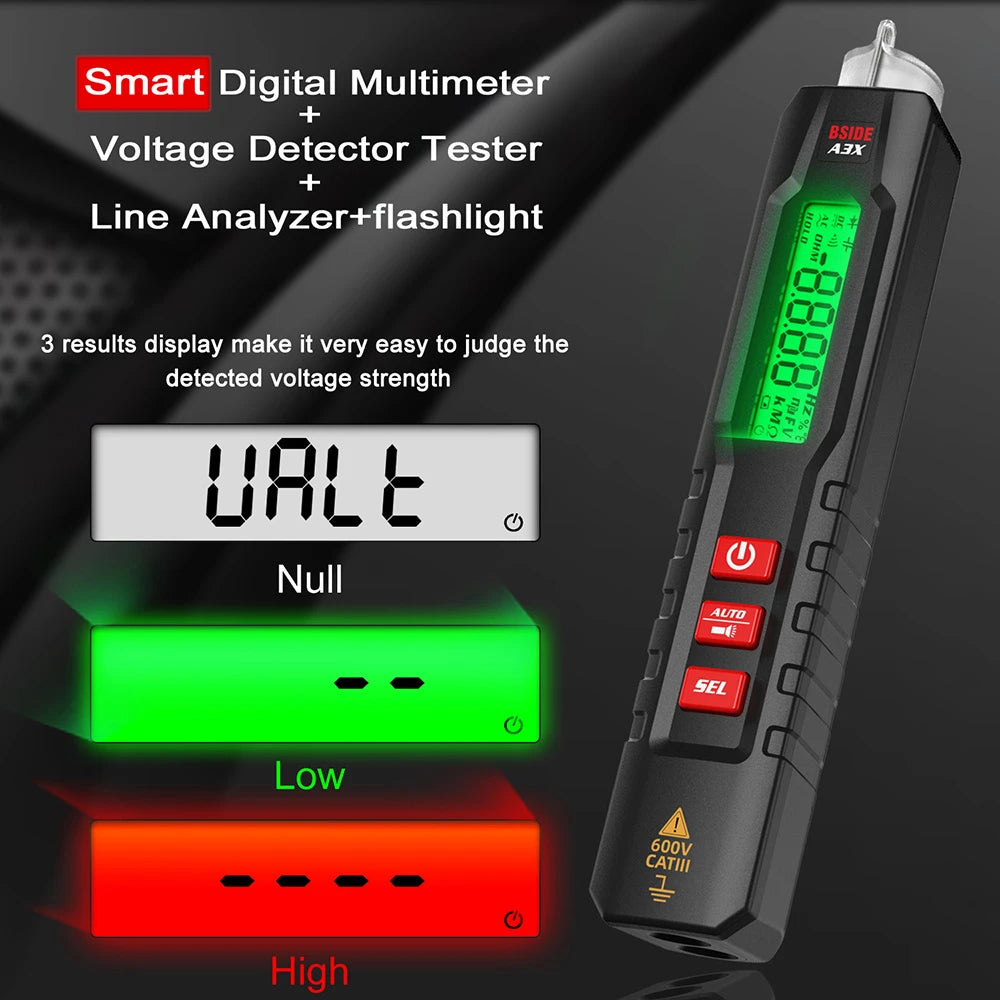
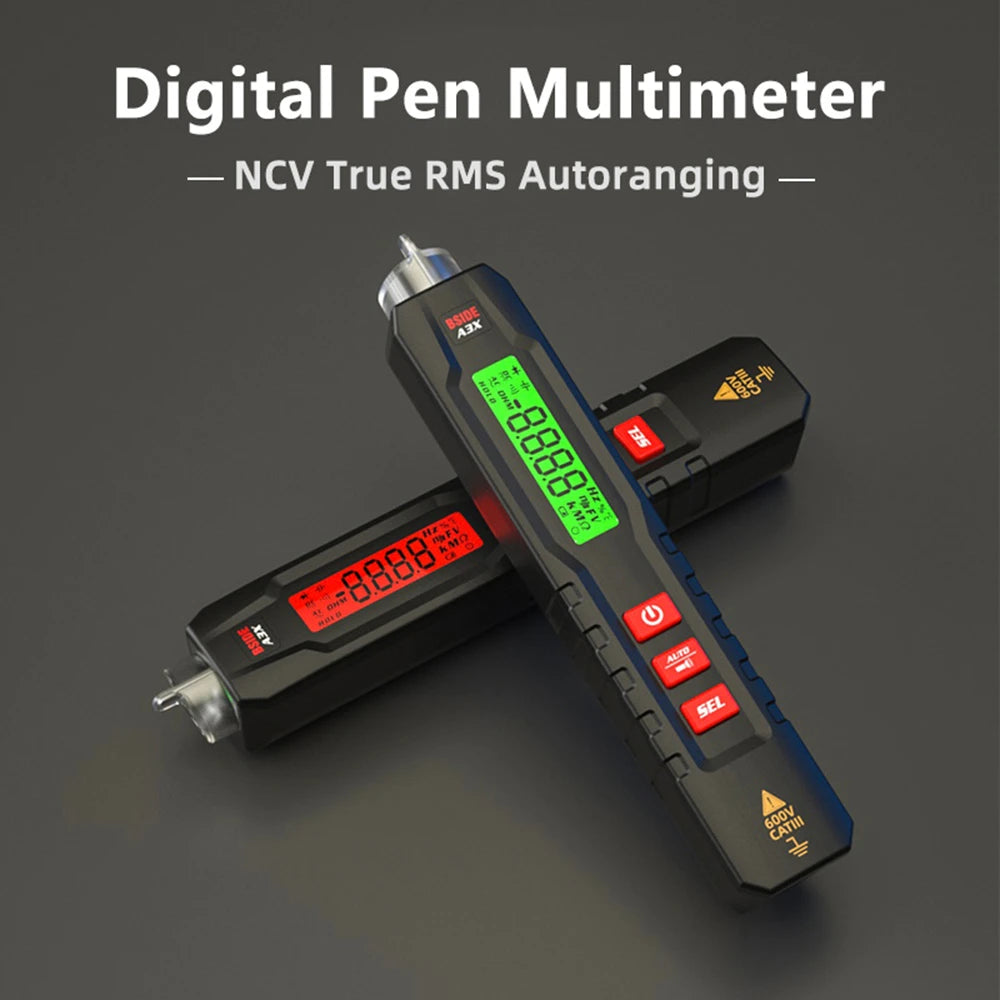
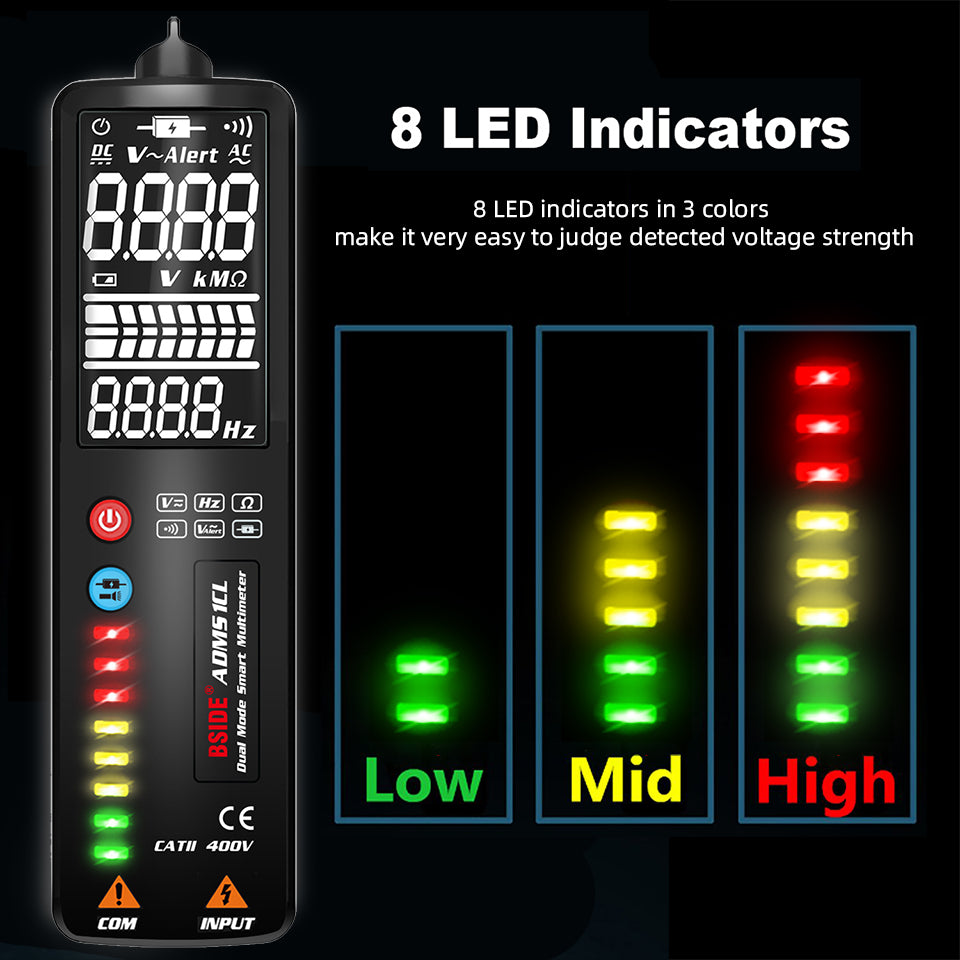
BSIDE meters with auto-ranging and NCV (Non-Contact Voltage) detection make this process safer, allowing you to locate live wires without direct contact.
5. Test Charging and Adapter Circuits
For devices powered via adapters or USB, such as routers or chargers:
-
Use your multimeter in DC Voltage (V–) mode.
-
Check the output of the power adapter — it should match the rated output (e.g., 12V DC).
-
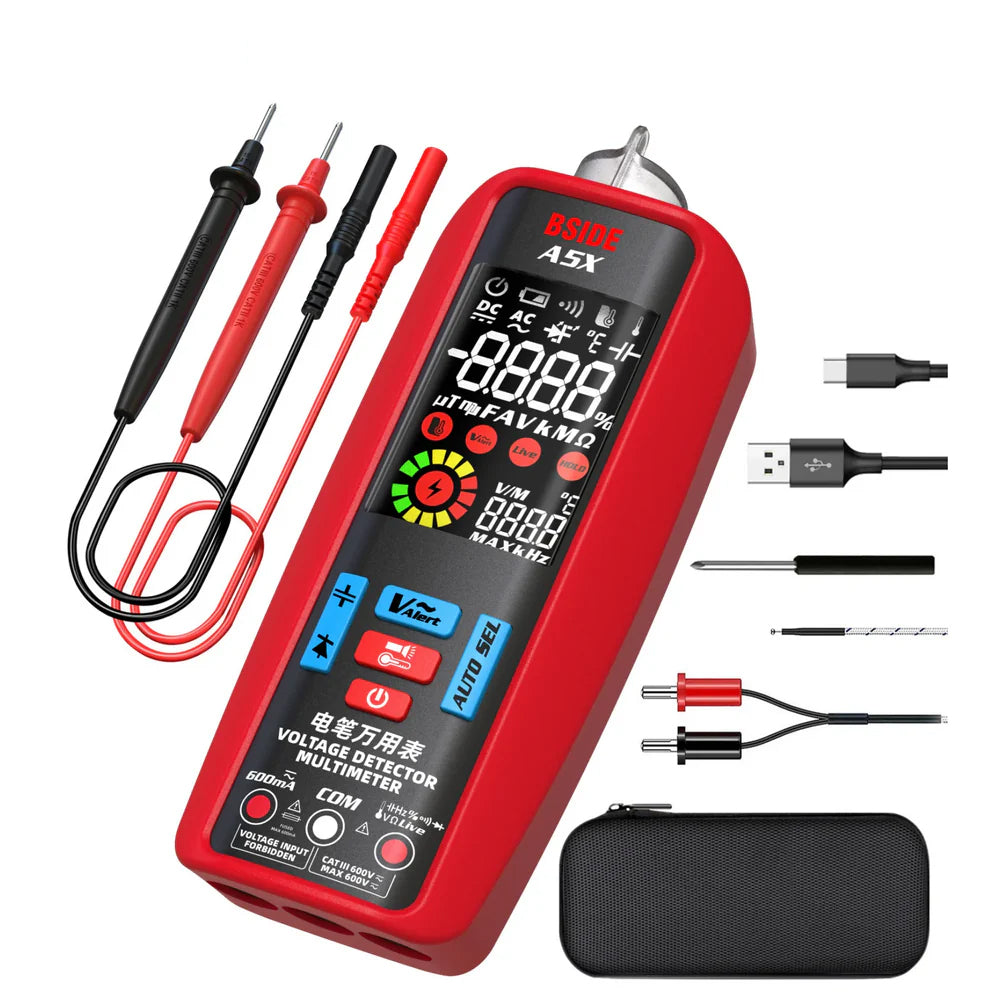
Some models like the BSIDE S7 Smart USB Multimeter can directly measure USB voltage and current, helping you spot faulty chargers or cables instantly.
6. Final Verification
After replacing or repairing any component, reassemble the appliance and perform one final test. Measure voltage, current, and resistance at key points to ensure stability before plugging it into mains power again.
Conclusion
Repairing electrical appliances doesn’t always require professional tools or training. With a reliable BSIDE digital multimeter, you can quickly pinpoint electrical faults, test components, and restore devices to working condition — all while learning more about how your electronics function.
Whether you’re testing continuity in a light switch or diagnosing power loss in a kitchen appliance, BSIDE’s smart multimeters like S6, S7, and S10 offer precision, safety, and versatility for every task.