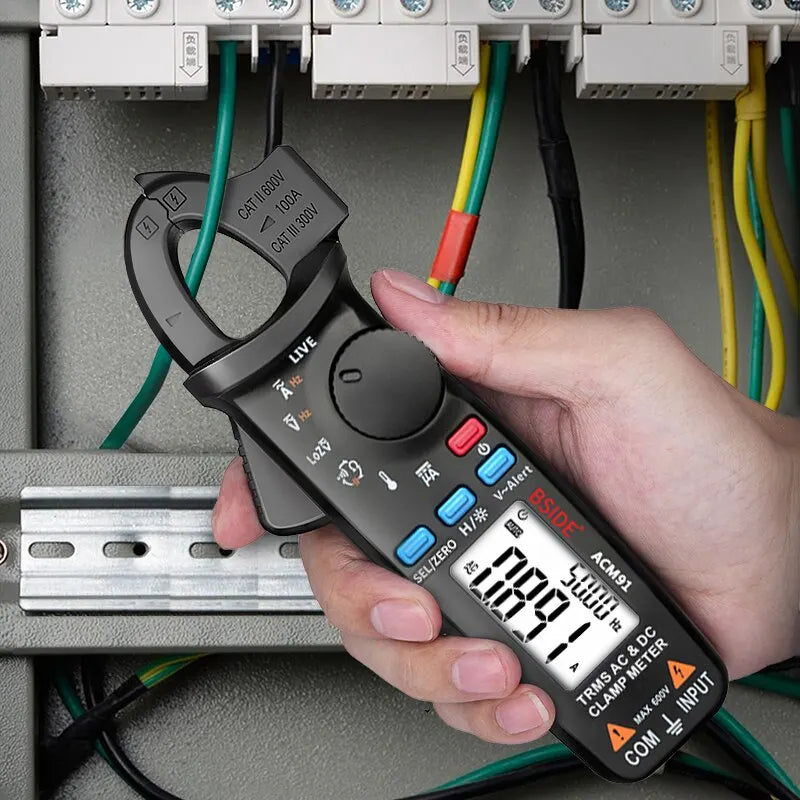
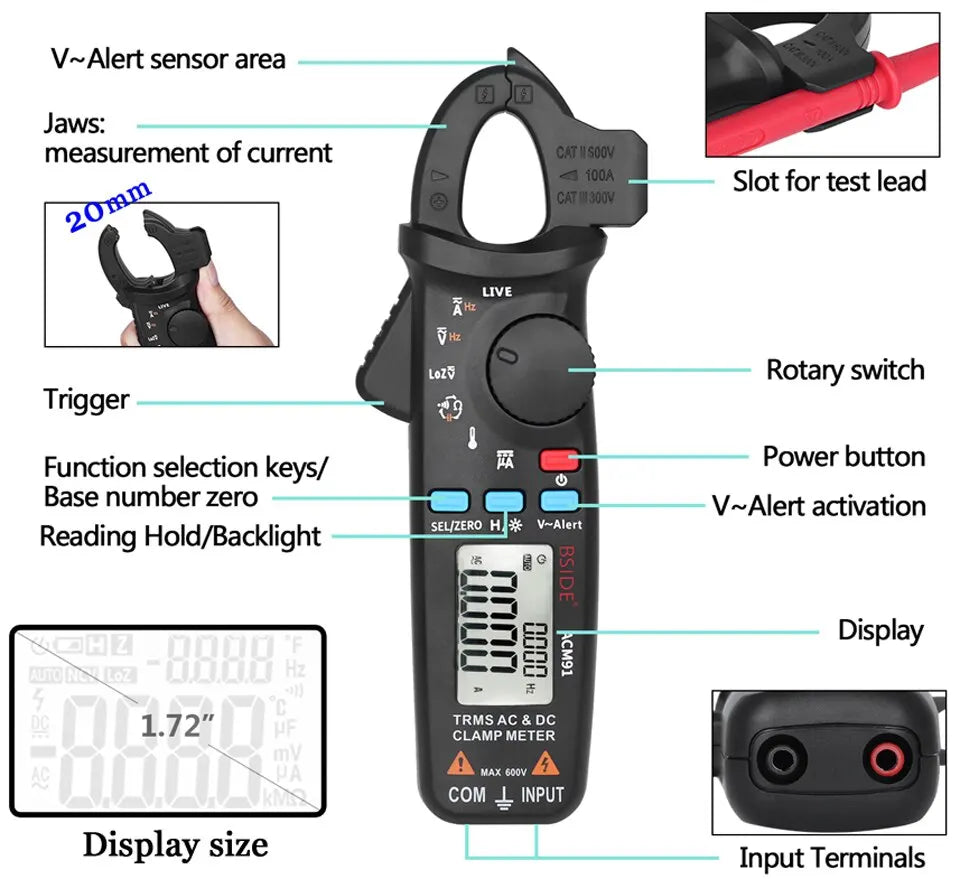
Whether you’re testing a battery, checking for continuity, or diagnosing a circuit, setting your multimeter correctly is essential. For beginners, the dial or rotary switch can look like a confusing ring of symbols. But don't worry—once you understand the purpose behind each setting, it becomes second nature.
In this article, we’ll break down the most common multimeter settings, show you what they’re used for, and explain how models like the BSIDE S11, A10, and ZT100 can make the process even easier.
1. Understanding the Basic Settings
Here are the core settings you’ll find on almost every digital multimeter:
-
VDC (DC Voltage): Use this to measure batteries or any circuit powered by DC current.
→ Set to "V" with a straight line. -
VAC (AC Voltage): For wall outlets or home wiring, this setting measures alternating current.
→ Set to "V" with a wavy line. -
Resistance (Ω): Used to measure resistance across components like resistors, or to check if a wire is broken.
-
Continuity Test: Usually marked with a diode symbol or soundwave icon. This beeps when a circuit is complete—ideal for checking fuses or wire paths.
-
Current (A, mA): Measures current flowing through a circuit. Only use if you know the safe range—improper use can blow a fuse in your meter.
2. What Makes BSIDE Multimeters Stand Out?
Many entry-level meters require manual range selection. You turn the dial to a setting and then pick a range (like 200V or 20V). This can be frustrating if you're unsure.
BSIDE’s newer models—like the S11 Smart Multimeter or the A10 Auto-Ranging DMM—feature smart detection. That means they automatically detect what you're measuring (voltage, resistance, continuity), so you can focus on the test, not the dial.
✅ Key advantages of BSIDE meters:
-
Smart auto-range and function detection
-
Clear backlit displays and digital bar graphs
-
Non-contact voltage detection (NCV) in select models
-
Affordable, compact, and beginner-friendly designs
This makes BSIDE a great brand not just for professionals but also for DIY users, students, and electricians-in-training.
3. Pro Tip: Know Your Safety Limits
When in doubt:
-
Start at the highest range to avoid damaging the meter.
-
Never use current settings to measure voltage.
-
Use proper test leads and always check your user manual.
Many BSIDE multimeters include a helpful quick-start guide right in the box, and their digital display often shows helpful hints or alerts if something’s off.
4. Example: Measuring a 9V Battery
If you’re using a BSIDE ZT100, here’s how to check a 9V battery:
-
Turn the dial to “V” (DC voltage).
-
Plug black lead into COM, red into VΩ.
-
Touch black to negative terminal, red to positive.
-
Read the value—it should be close to 9V. If it’s below 7V, consider replacing the battery.
In the BSIDE S11, just plug in the leads and let the smart function detect the setting. It will auto-switch to DC voltage and display the result.
Final Thoughts
A multimeter is one of the most valuable tools in your kit—but only if you know how to use it. Choosing the right setting is the first step, and models like those from BSIDE make it easier than ever.
If you’re just getting started or looking for an upgrade, we highly recommend the BSIDE S11 for smart ease-of-use or the BSIDE A10 for a classic, reliable manual feel.


Делиться:
What Does It Mean If a Multimeter Beeps?