Les Ohms (Ω) sont une unité de résistance électrique, utilisée pour indiquer la mesure dans laquelle un composant résiste au flux d'électricité. Mesurer les ohms avec un multimètre numérique est une compétence essentielle pour le diagnostic des circuits, la vérification des résistances et le dépannage électronique.
Dans ce guide, nous vous montrerons comment lire les ohms comme un pro à l'aide d'un multimètre numérique.
📖 Qu'est-ce qu'un Ohm ?
L'ohm (Ω) mesure la résistance. Un ohm signifie qu'un volt est nécessaire pour faire passer un ampère dans un circuit.
Résistance plus élevée = écoulement d'électricité plus difficile.
🧪 Quand faut-il mesurer la résistance ?
-
Vérifier le bon fonctionnement d'une résistance
-
Identifier les fils cassés ou les mauvaises connexions
-
Tester les bobines, les fusibles, les interrupteurs et les éléments chauffants
-
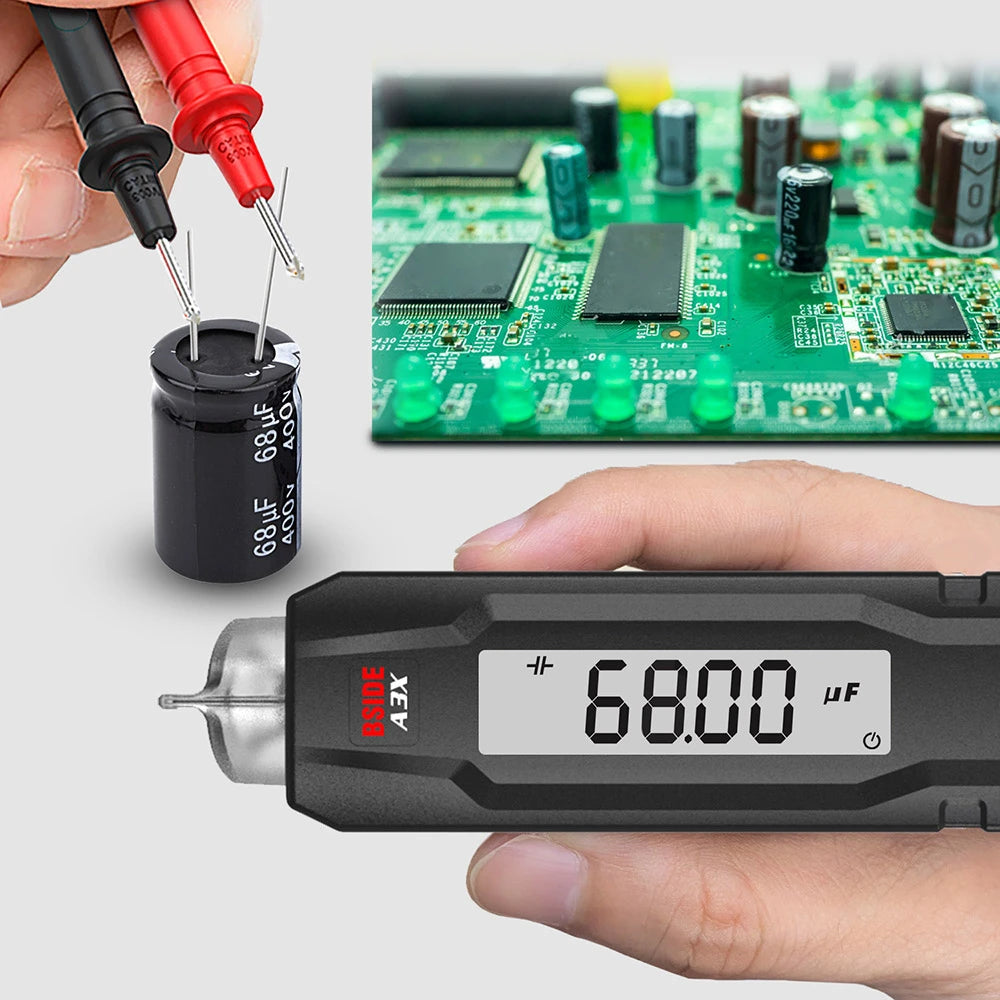
Vérifier les tracés de circuits imprimés ou les composants de cartes de circuits imprimés
🔧 Ce dont vous aurez besoin
-
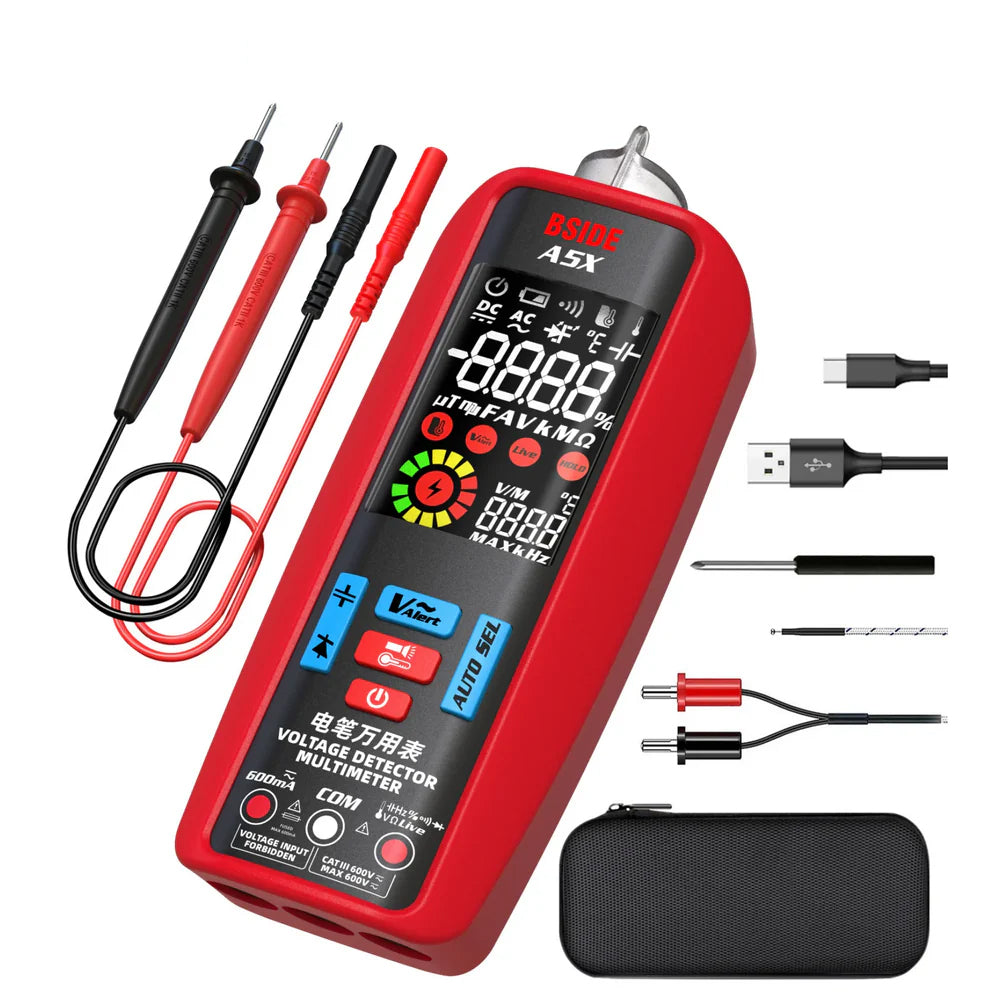
Un multimètre numérique avec mode résistance (Ω)
-
Sondes de test
-
Le composant ou le fil à tester
-
Facultatif : tableau de codes de couleurs pour les résistances
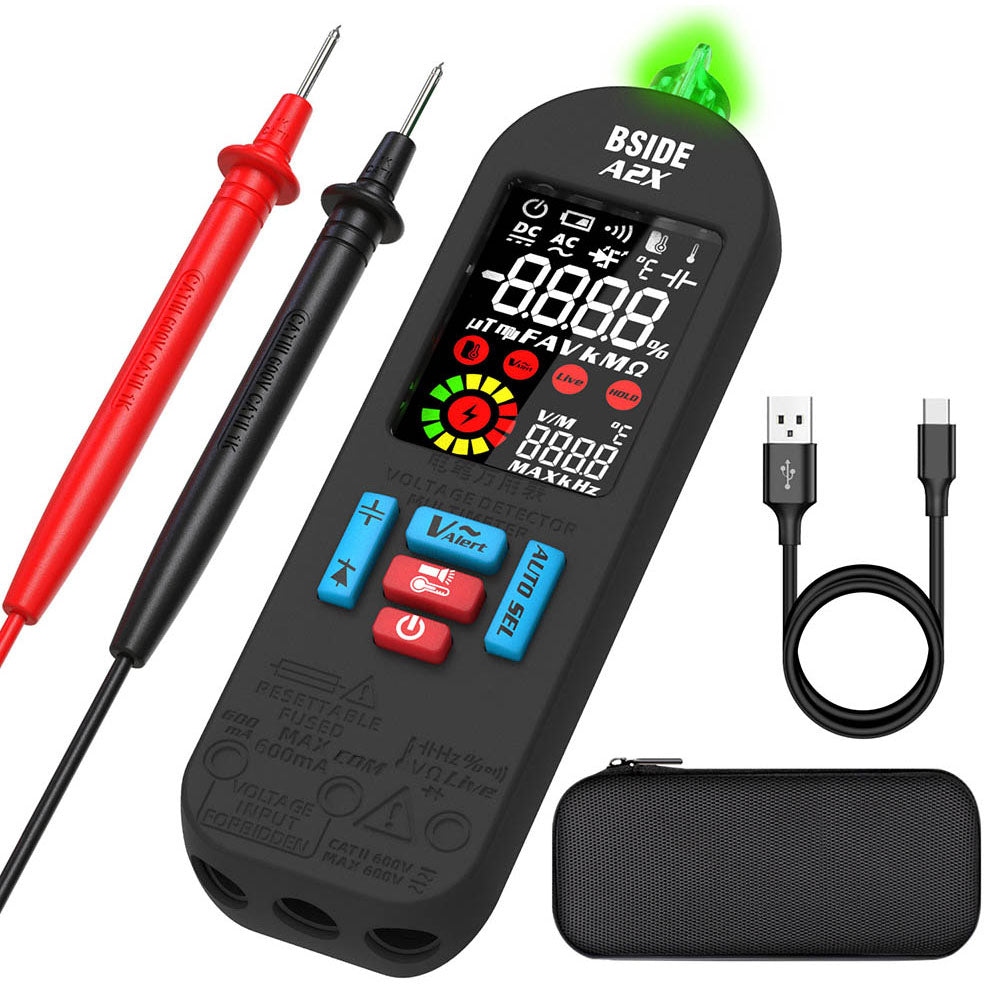
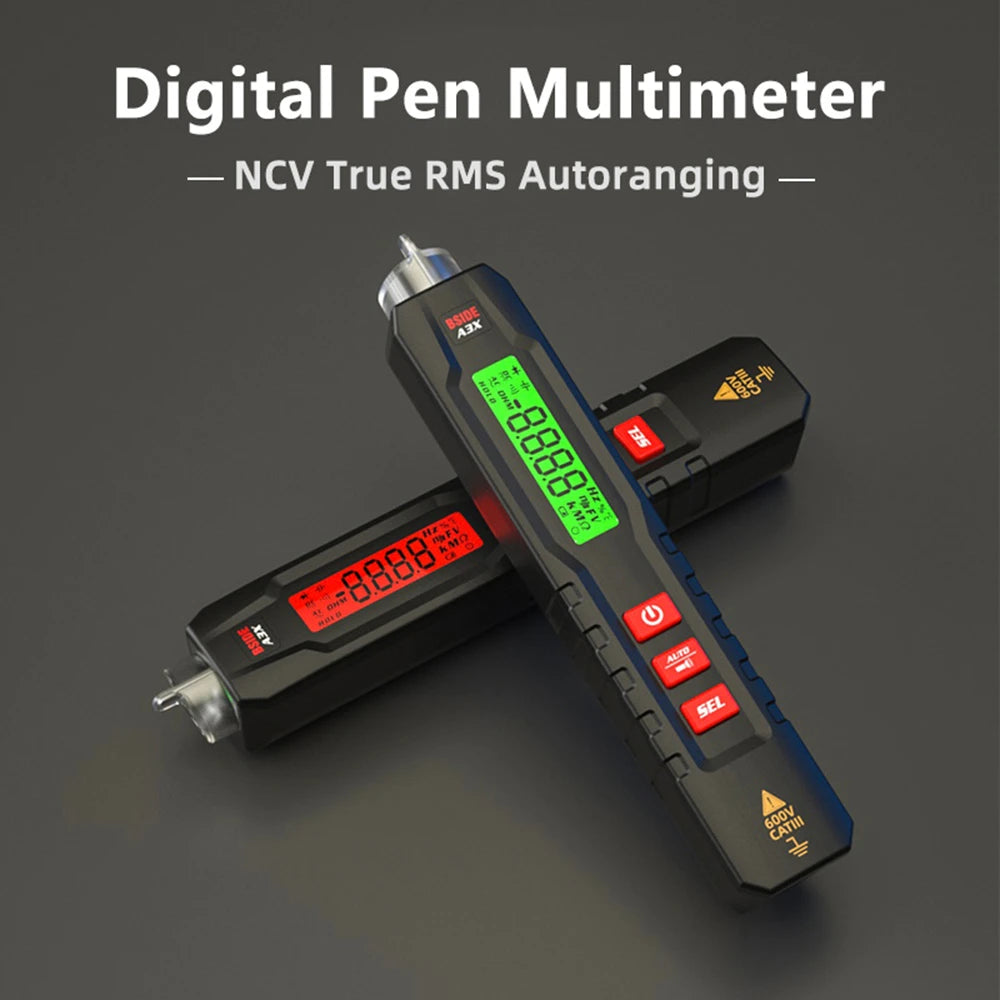
👉 Astuce : les modèles BSIDE comme les S30, SH7 ou S11 sont parfaits pour les tests de résistance.
📏 Comment lire les Ohms en 5 étapes faciles
Étape 1 : Coupez l'alimentation
Ne mesurez jamais la résistance dans un circuit sous tension – cela peut endommager votre appareil de mesure et donner des lectures incorrectes.
Étape 2 : Réglez le multimètre sur Résistance (Ω)
Tournez le cadran sur le symbole Ω.
Si vous utilisez un multimètre à sélection manuelle, choisissez la plage attendue :
-
200Ω / 2k / 20k / 200k / 2M / etc.
Les multimètres à sélection automatique le feront pour vous.
Étape 3 : Zéro (facultatif)
Touchez les deux sondes l'une contre l'autre.
Vous devriez obtenir une lecture proche de 0,0Ω, indiquant une connexion correcte.
Cela garantit que votre multimètre ne lit pas la résistance interne des cordons.
Étape 4 : Connectez les sondes au composant
Touchez une sonde à chaque extrémité du composant (résistance, fil, etc.).
Ce que vous pourriez voir :
| Affichage | Signification |
|---|---|
| 0.0Ω à 999Ω | Faible résistance (bon conducteur) |
| 1kΩ à 999kΩ | Résistance modérée (par ex., résistance) |
| 1MΩ+ | Haute résistance (isolant ou défectueux) |
| « OL » ou « 1 » | Circuit ouvert (pas de continuité) |
Étape 5 : Interpréter le résultat
-
Comparez votre lecture à la valeur attendue (par exemple, d'un code couleur de résistance ou d'un schéma de circuit).
-
Lisez attentivement l'unité :
-
1.0 = 1 ohm
-
1k = 1000 ohms
-
1M = 1 000 000 ohms
-
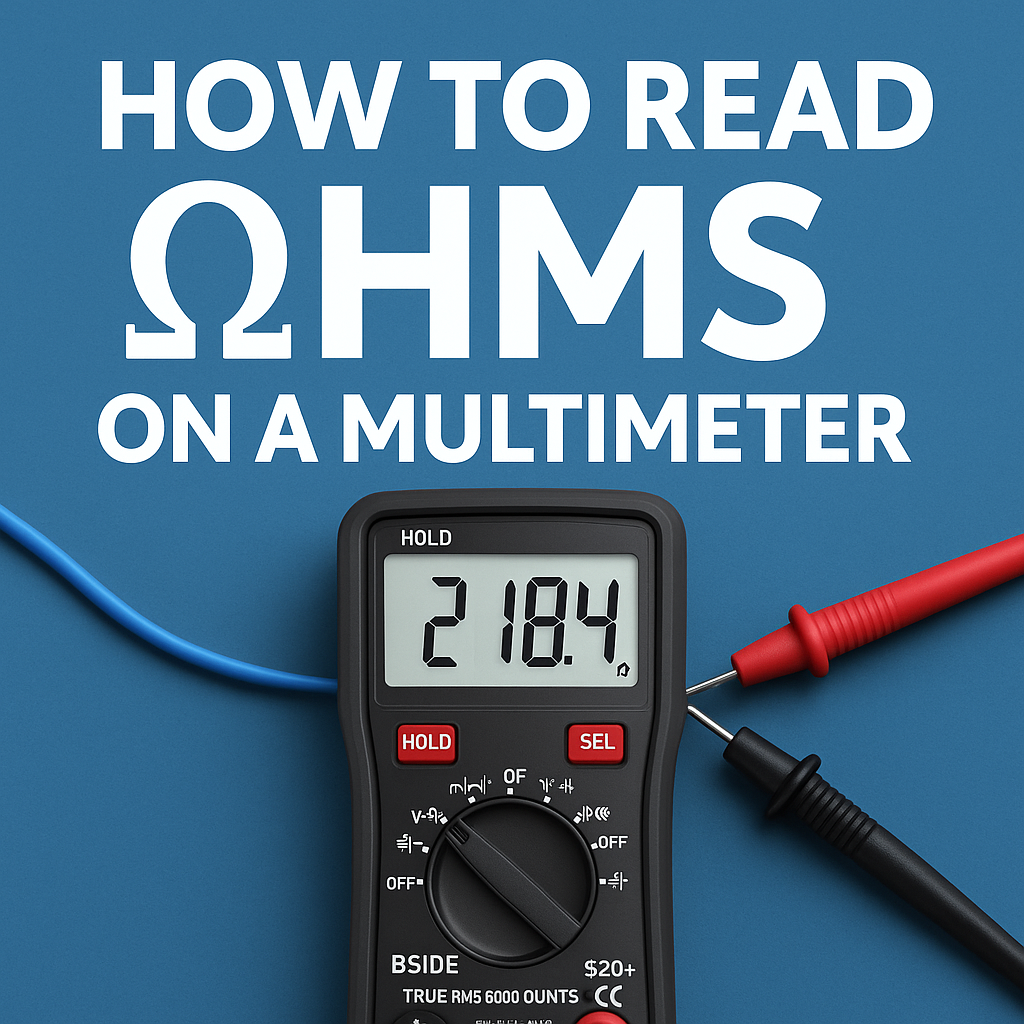
💡 Exemple concret
Disons que vous testez une résistance de 220Ω :
-
Votre multimètre affiche 218,4Ω
-
✅ C'est dans la plage de tolérance de ±5 % (attendue pour les résistances à couche de carbone)
Mais si elle affichait OL, cela signifie que la résistance est probablement grillée ou en circuit ouvert.
⚠️ Erreurs courantes à éviter
-
Tester sous tension
-
Mauvaise lecture de l'unité (Ω vs kΩ vs MΩ)
-
Toucher les pointes métalliques des sondes avec les doigts (ajoute la résistance corporelle)
-
Attendre une précision de 100 %—la plupart des résistances ont une tolérance de ±5 % ou ±1 %
🔧 Pourquoi utiliser un multimètre BSIDE ?
Les multimètres BSIDE sont conçus avec :
✅ Modes Ω automatique et manuel
✅ Écran rétroéclairé pour une meilleure lisibilité
✅ Réponse rapide et détection de résistance stable
✅ Test de continuité sonore + résistance en un seul mode
Parfait pour les amateurs d'électronique, les techniciens CVC et les professionnels de la réparation.
✅ Conclusion
La lecture des ohms avec un multimètre est simple une fois que vous avez compris le symbole, les étapes et les valeurs attendues.
Avec seulement quelques tests, vous serez en mesure de dépanner les circuits, de confirmer les valeurs de résistance et de vérifier les composants comme un pro.